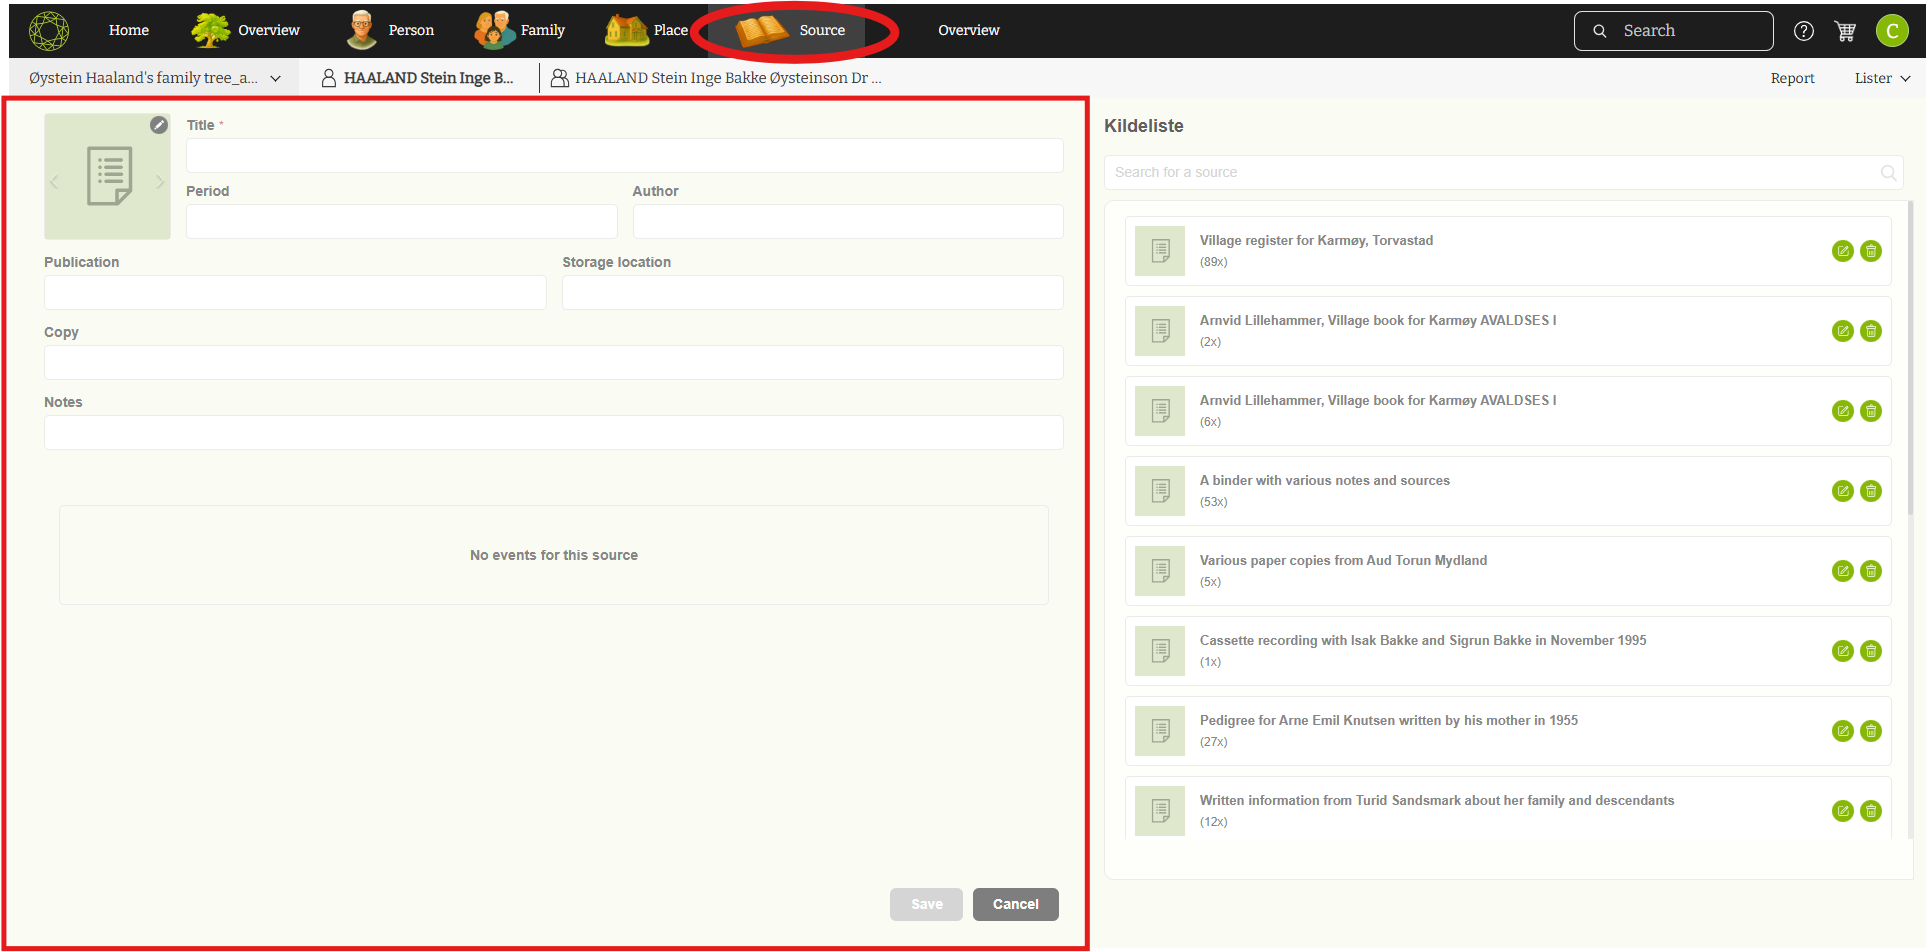
Users can access the Source Editor by clicking on the “Source” option in the main navigation menu.
Within the Source Editor, users can both add new sources and view all existing sources associated with their family project.
-
On the left-hand side, users can create and add a new source by entering the relevant details.
-
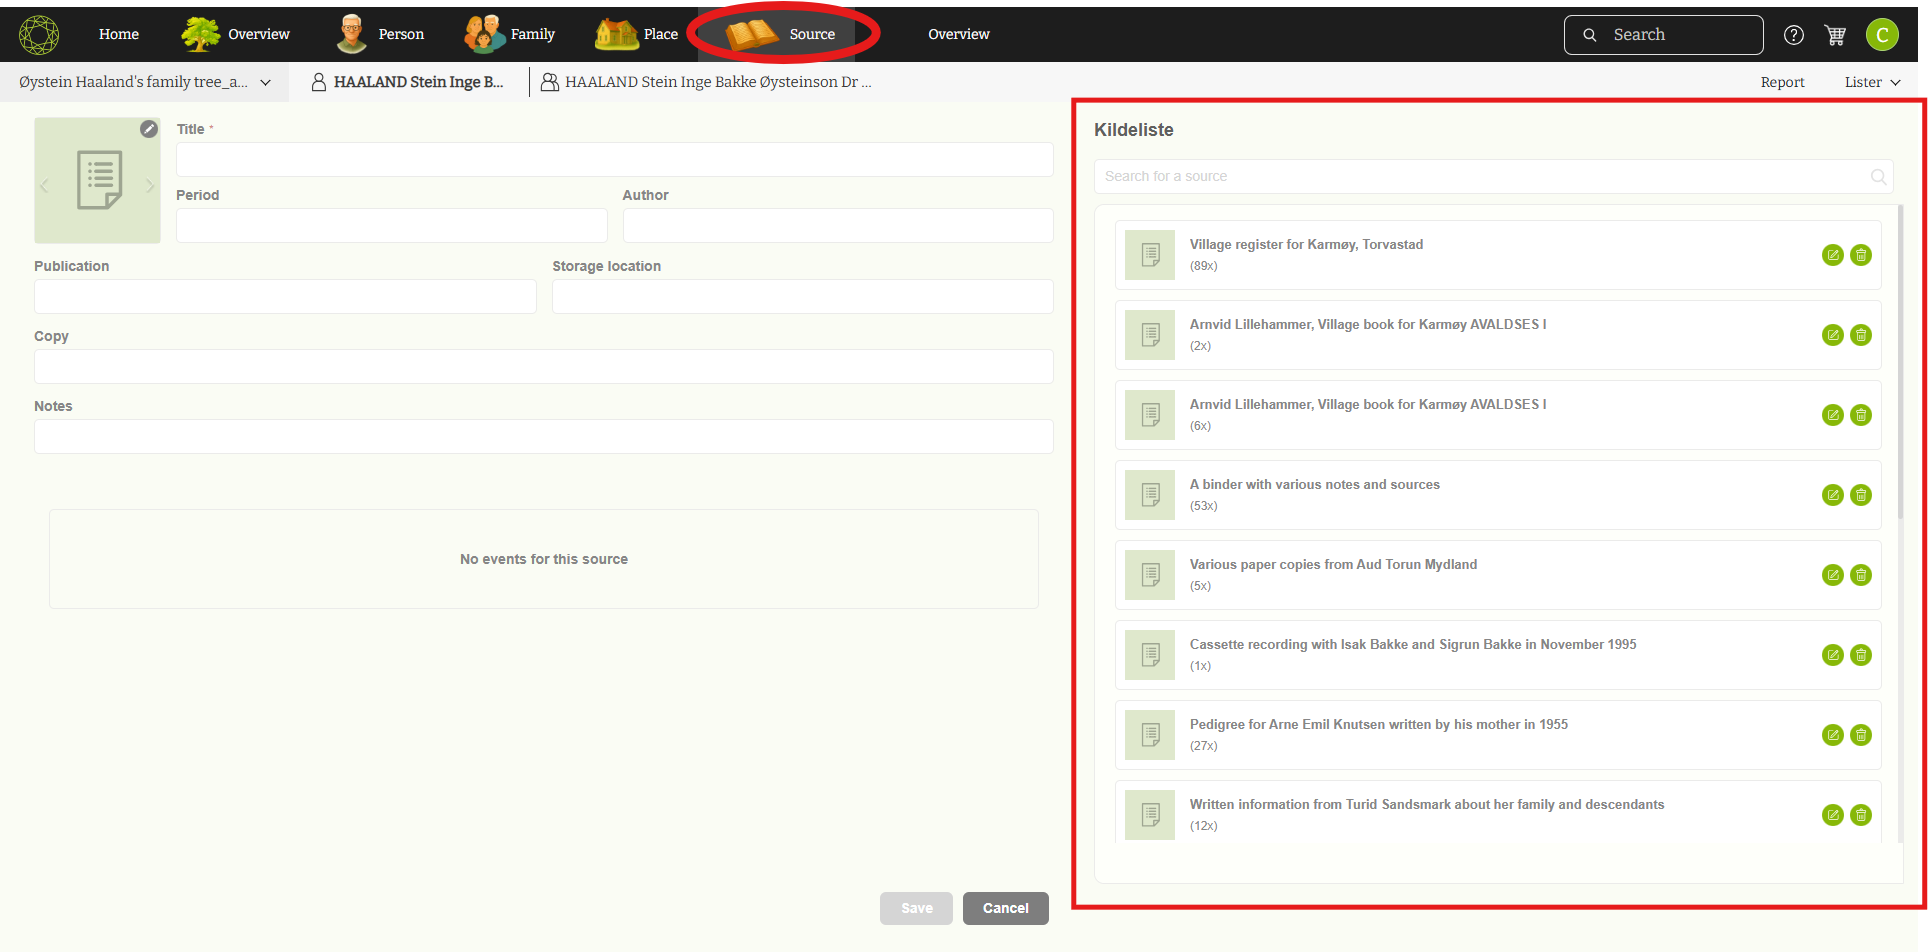
The right-hand panel displays a list of all added sources. Sources are automatically sorted from most recent to oldest, making it easy to find newly added entries.
All sources connected to the current family project can be viewed under the “Source List” tab.
-
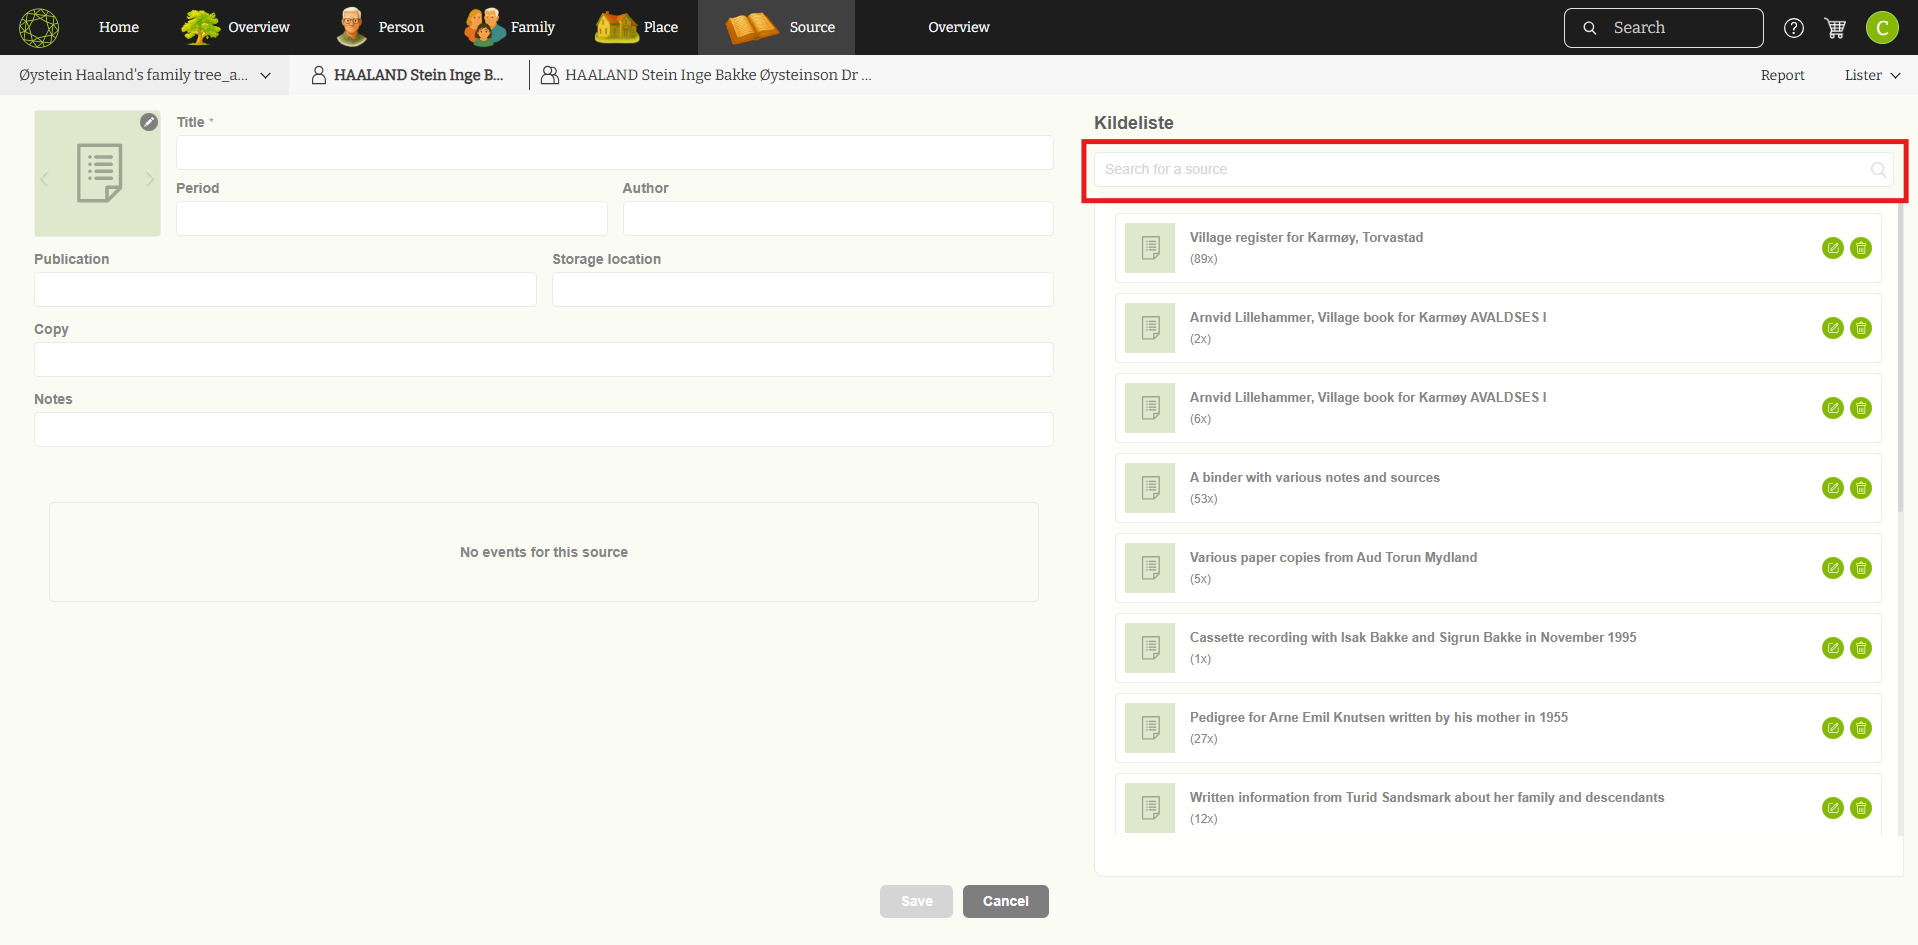
To quickly locate a specific source, users can use the search function, which filters the source list based on the entered keywords.
-
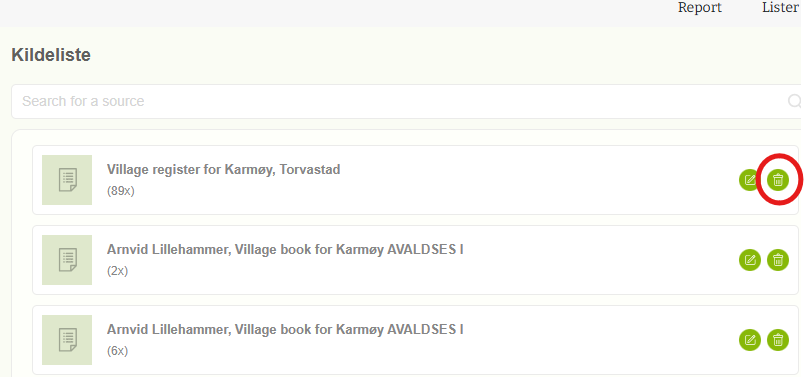
Users can also edit or delete sources directly from the list:
-
Click the edit (pencil) icon to update an existing source.

-
Click the delete icon to remove a source that is no longer needed.
This setup allows users to efficiently manage and organize all sources related to their family history project.
Leave a Reply