This article provides a comprehensive, step-by-step guide to migrating from V9 to V10 using cloud backup, offering clear instructions to ensure a smooth and straightforward process.
Let’s Get Started!
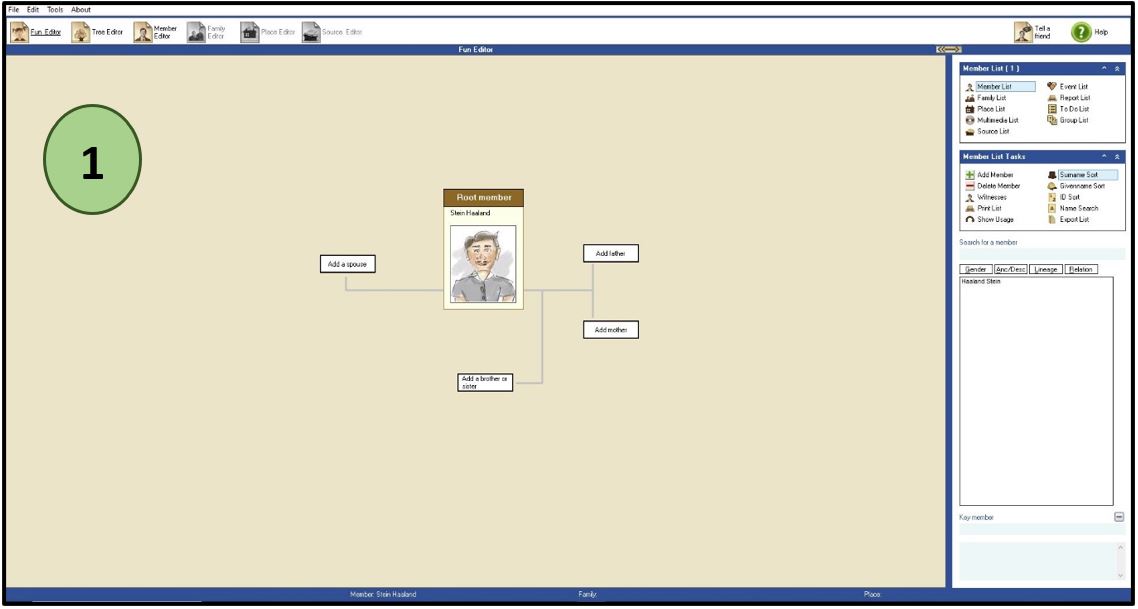
- Open the V9 application and view the family tree you want to back up.
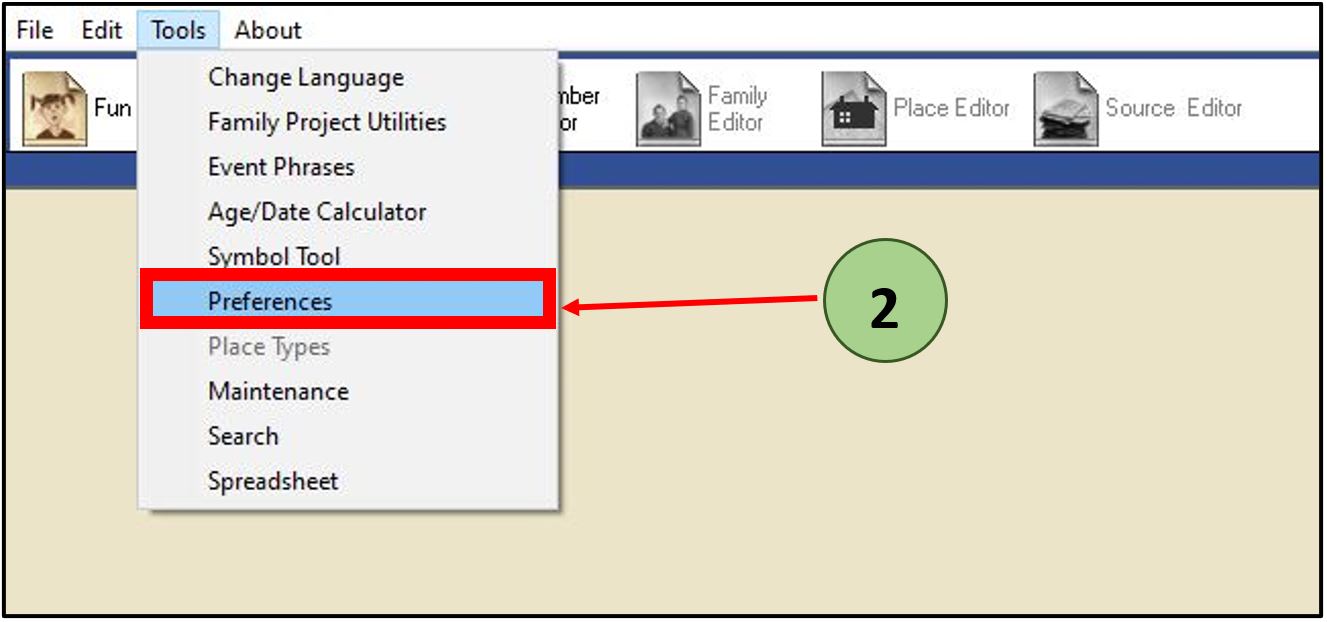
2. Click the “Tools” tab and click the “Preference” option.
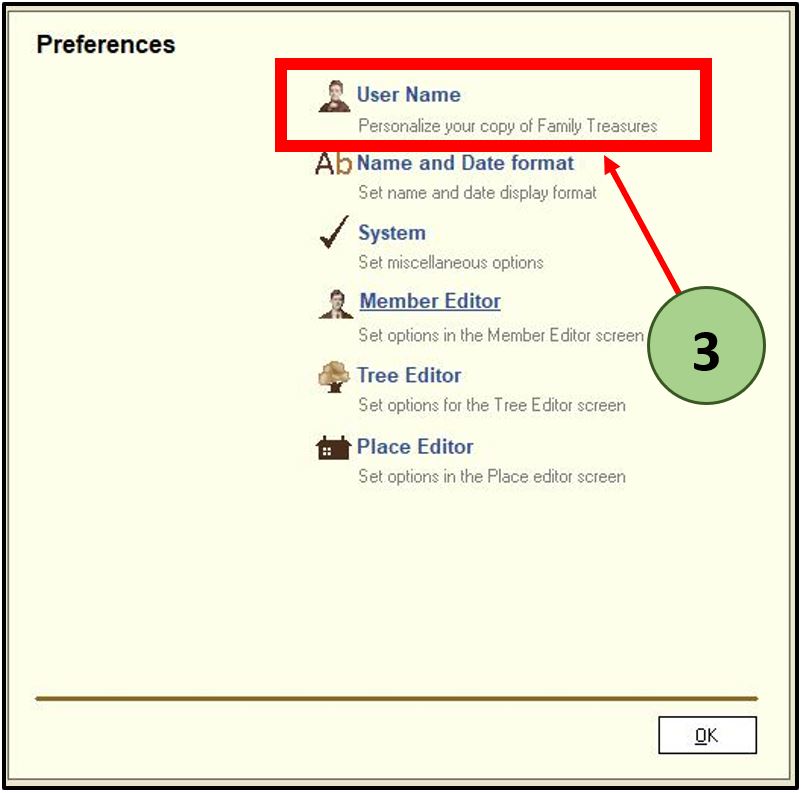
3. Click the “User Name” option from that window.
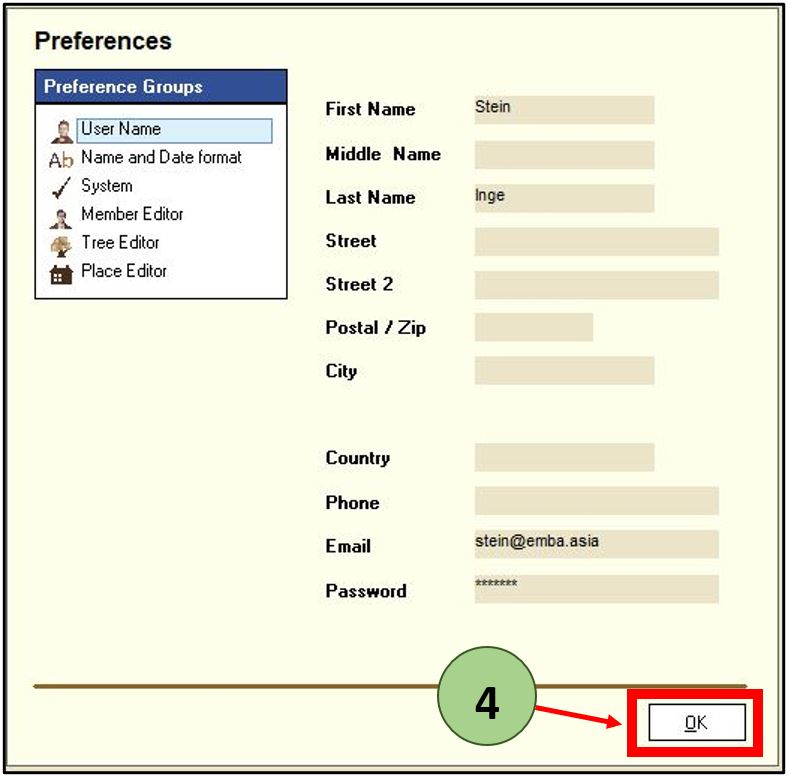
4. Then add the valid details and click “OK” button. (You should add the correct details already used to purchase the V10 application).
You should fill the First Name, Middle Name, Email and Password fields correctly.
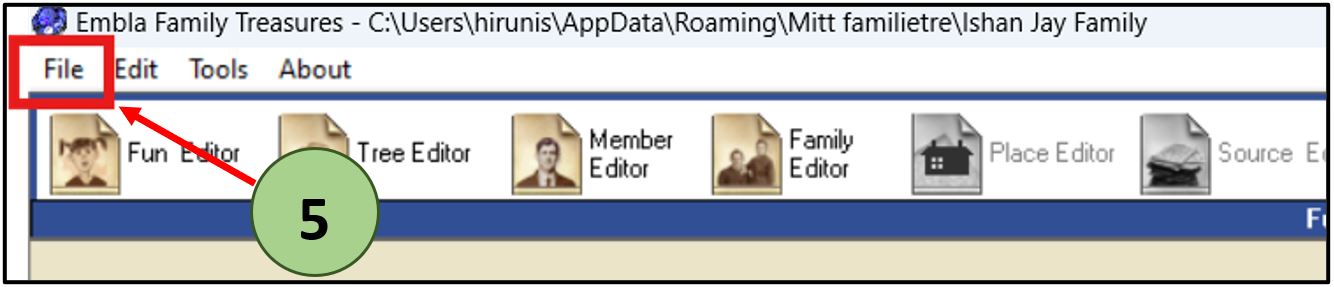
5. Next, Click on the ‘File’ tab.
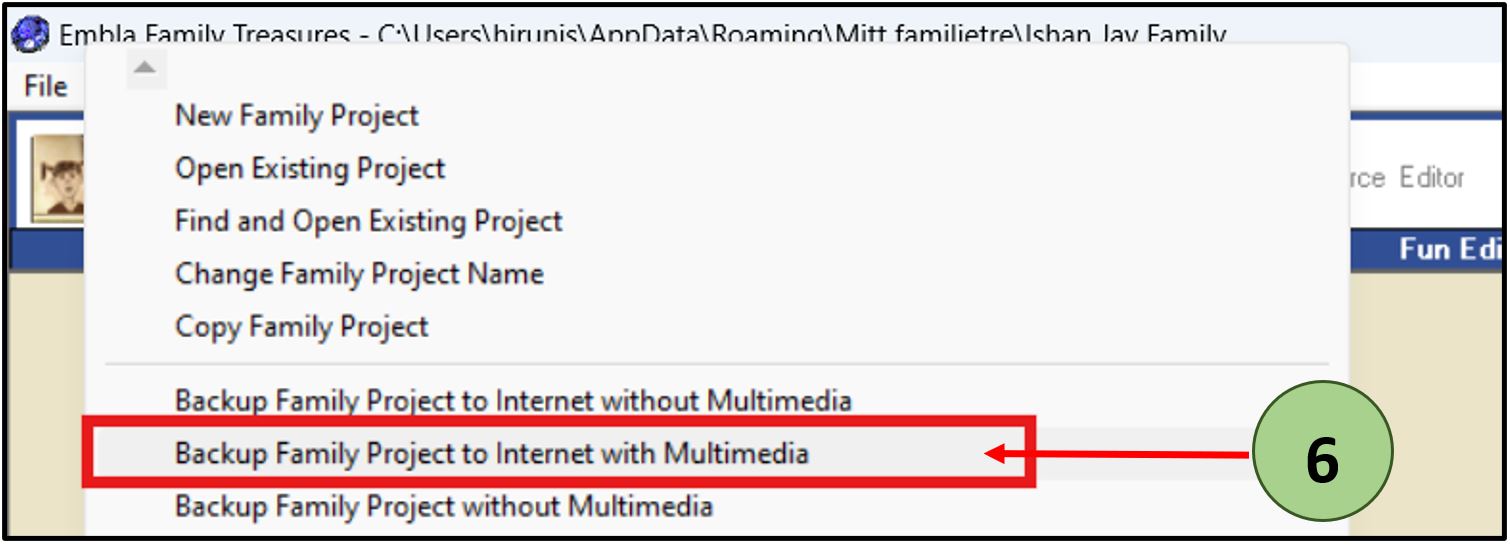
6. Select a cloud Backup option as your preference.
There are two options for backing up your family tree to the cloud. You can choose an according to your preference.
Option 1:
- Click the ‘Backup Family Project to Internet with Multimedia’ option in the box.
After clicking this, it will save both your family tree data and any associated multimedia files to the V10.
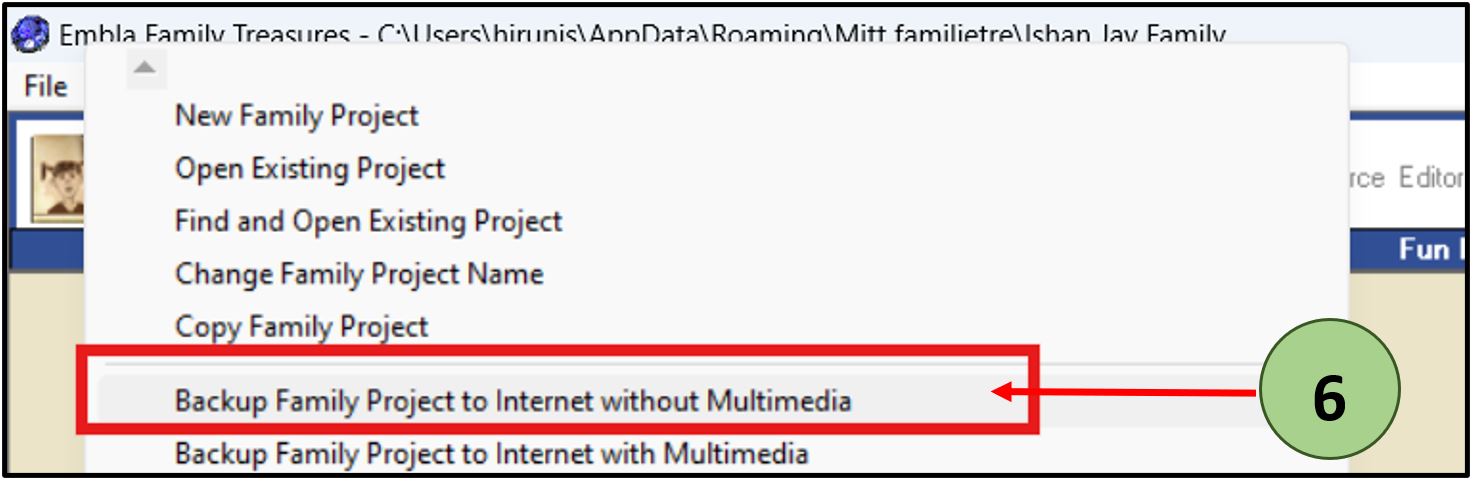
Option 2:
- Click the “Backup Family Project to Internet without Multimedia” option in the box.
After clicking this, it will save only your family tree data without associated multimedia files to the V10.
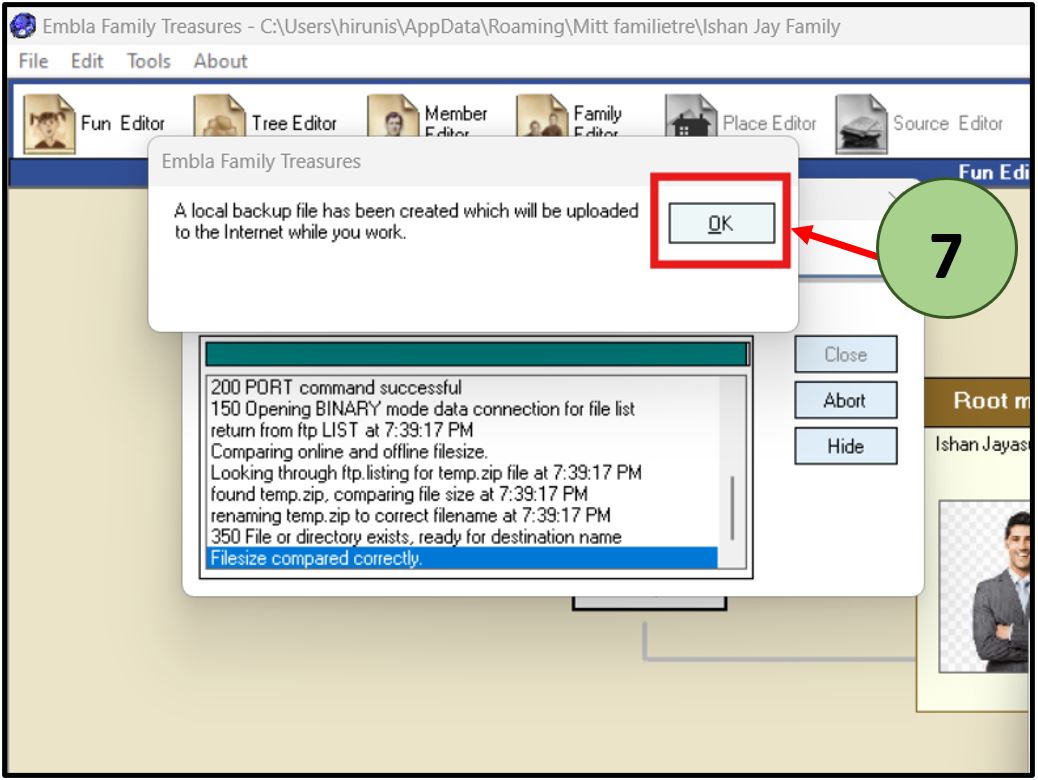
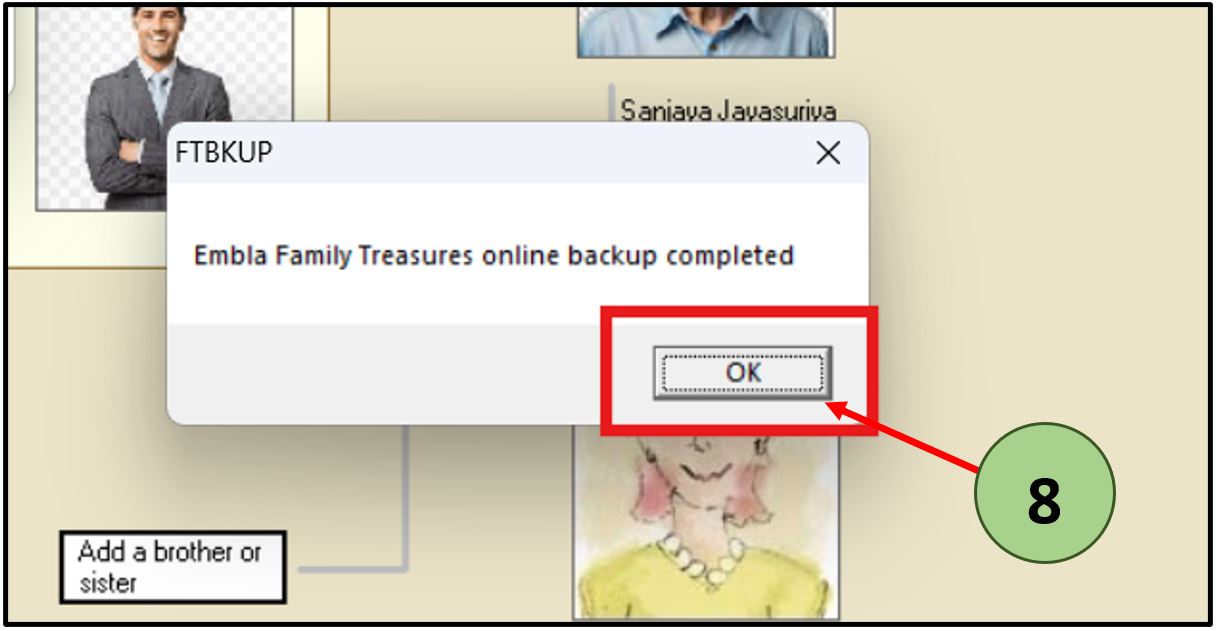
7. After selecting one of the above options, the backup process will start.
Now, you will get two pop-up boxes.
The first one says the Local backup file was also created. You can click the “OK’ button in that pop-up box.
The second one displays the backup process. This will take some time to finish. After that process you can see the “Close” button is enabled then you can click the “Close” button.
8. Click “Ok”.
Once the process is completed, click ‘OK’ button.
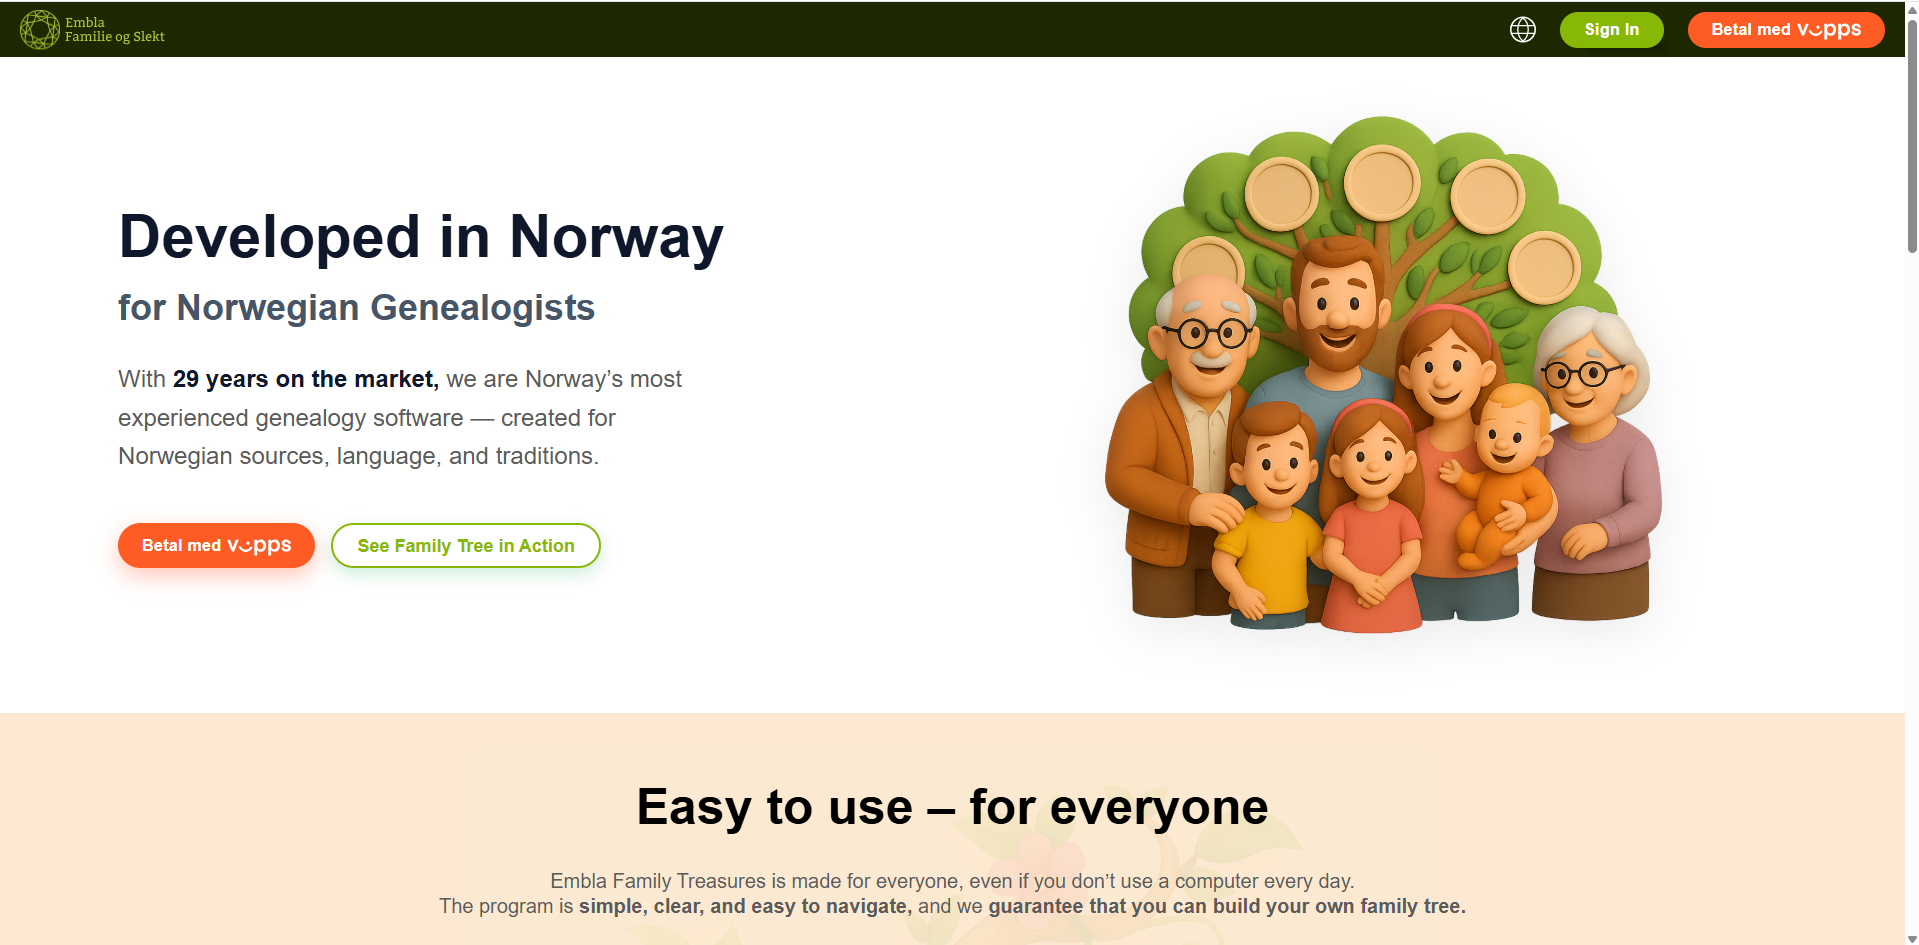
9. Now , Go to www.embl.no to access Version 10 (V10) ofEmbla Family Treasures.
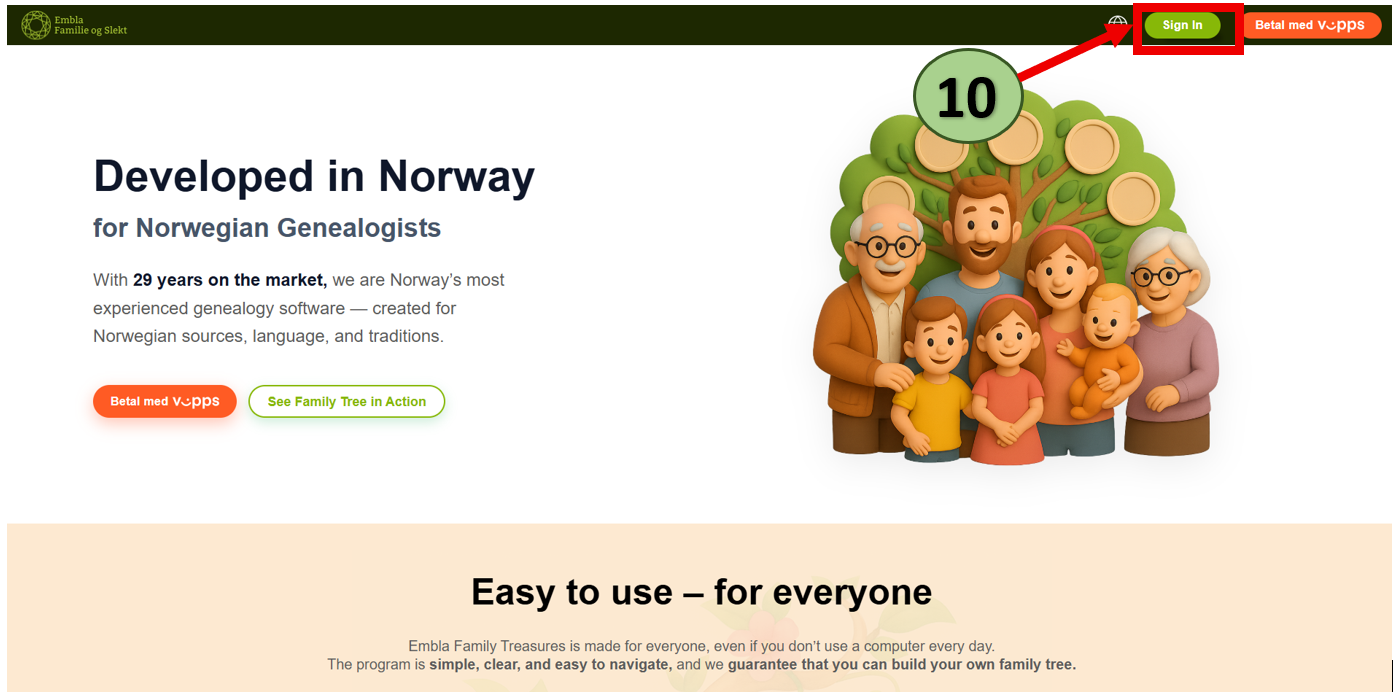
10. Click on Sign in button.
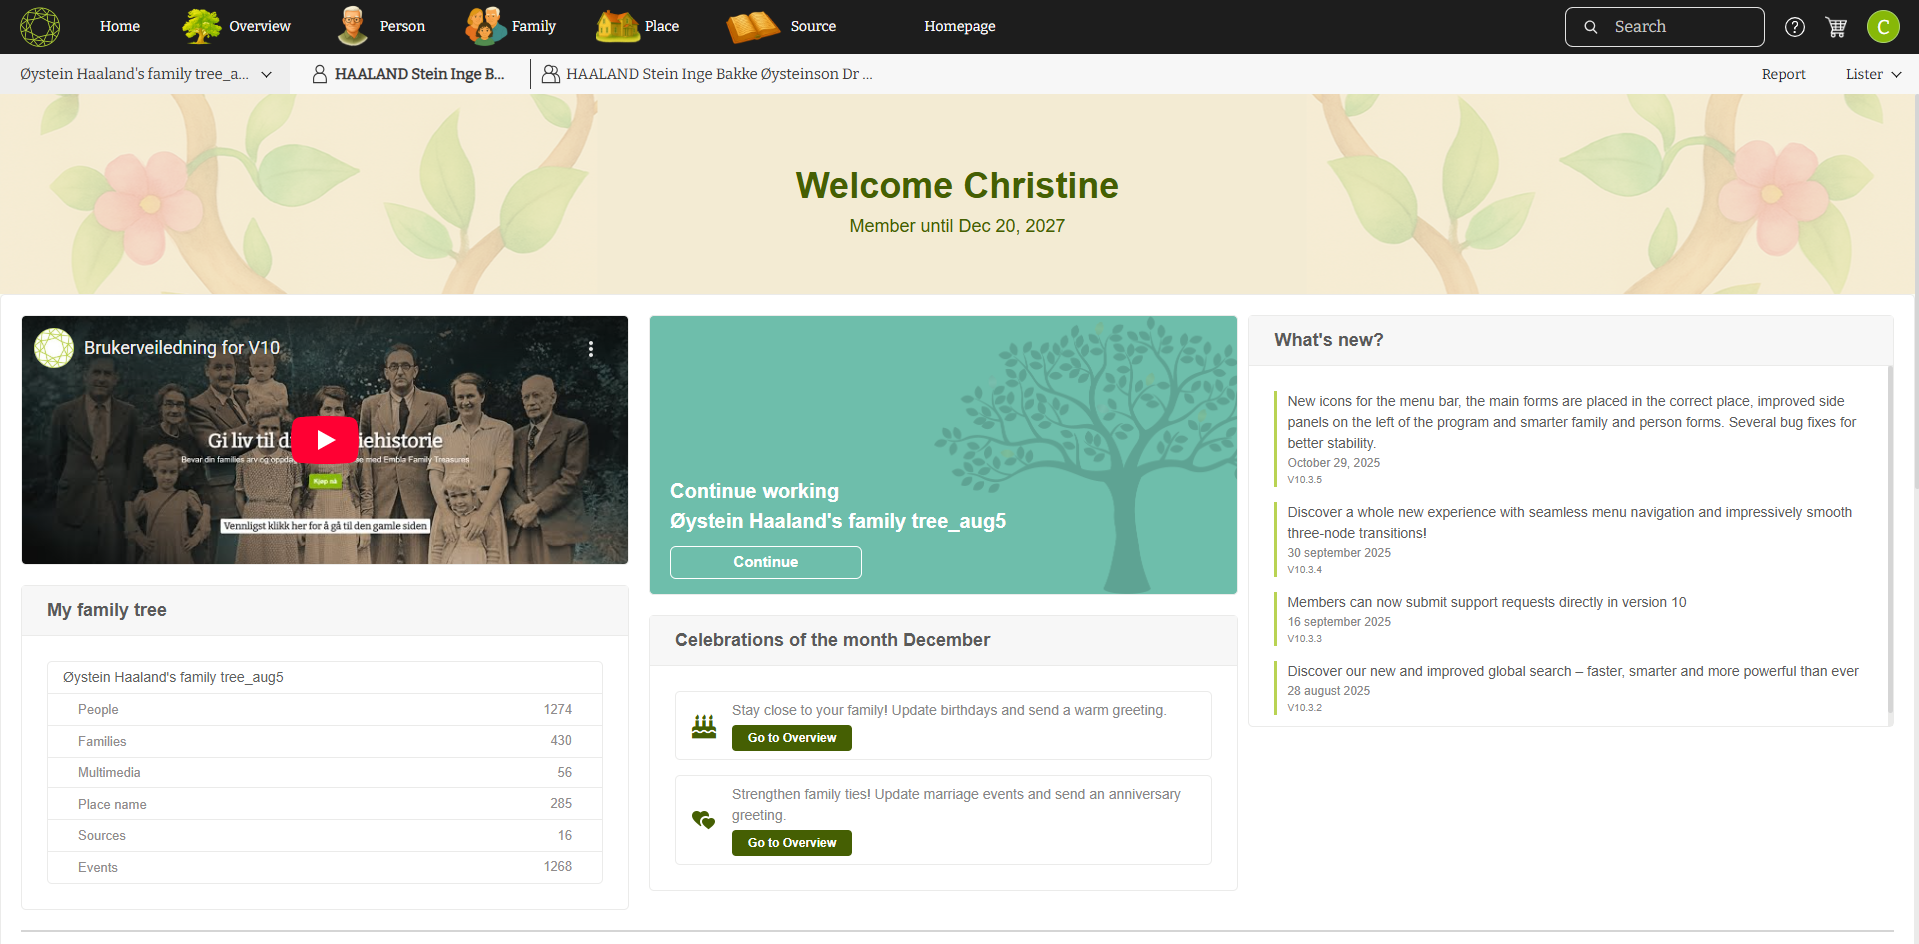
11. You will then be redirected to the membership page (dashboard).
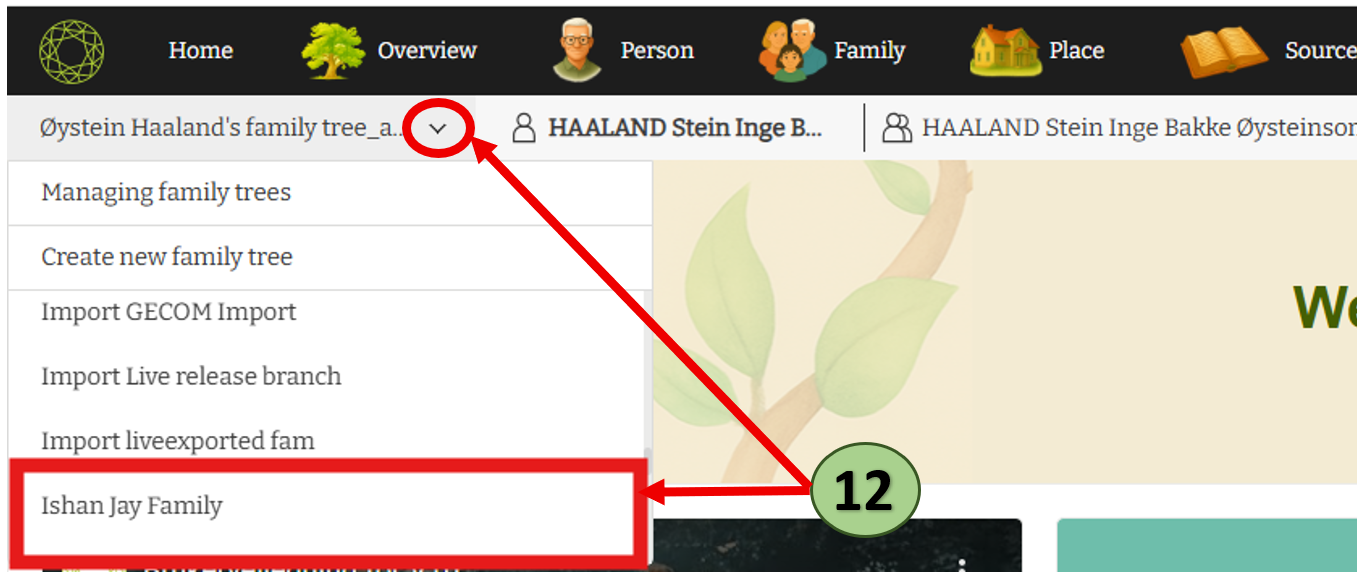
12. Refresh the page and click on the arrow icon.
Scroll down the list to find your backup family tree, then click on it.
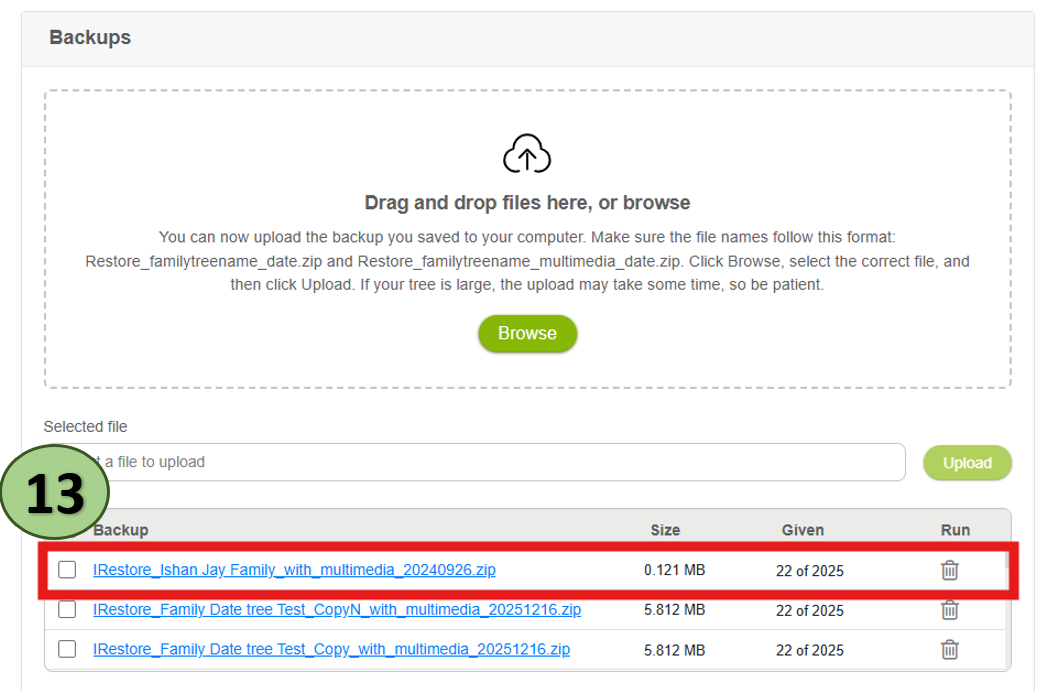
13. You can also see the backed-up family tree ZIP file in the Backup section on the same page, as shown in the image below.
14. You can now continue working with the family tree that you backed up from V9 to V10.
Leave a Reply