This article will provide you with a comprehensive, step-by-step guide to migrating from v9 to v10 (Embla Family Treasures) using local backup offering clear instructions to ensure the process is smooth and straightforward.
Let’s Get Started!
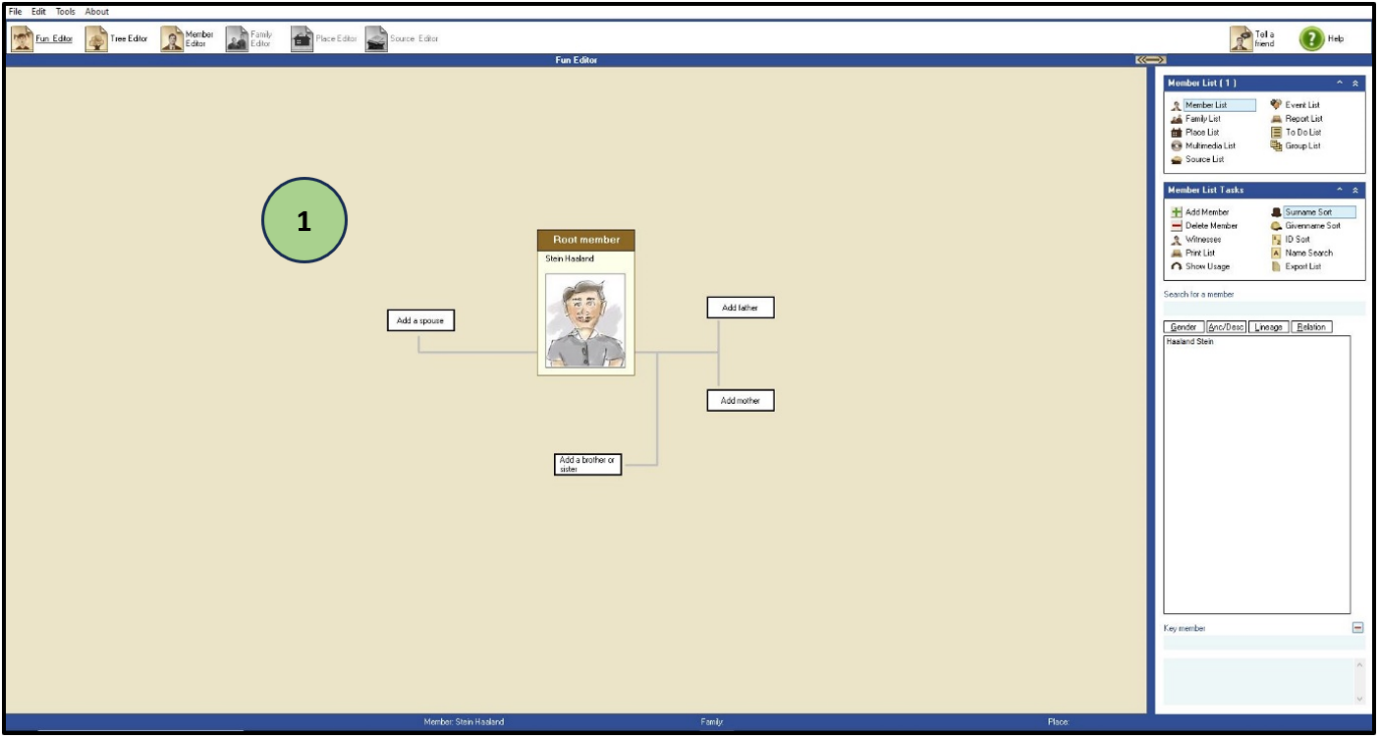
- Open the V9 application and view the family tree you want to back up.
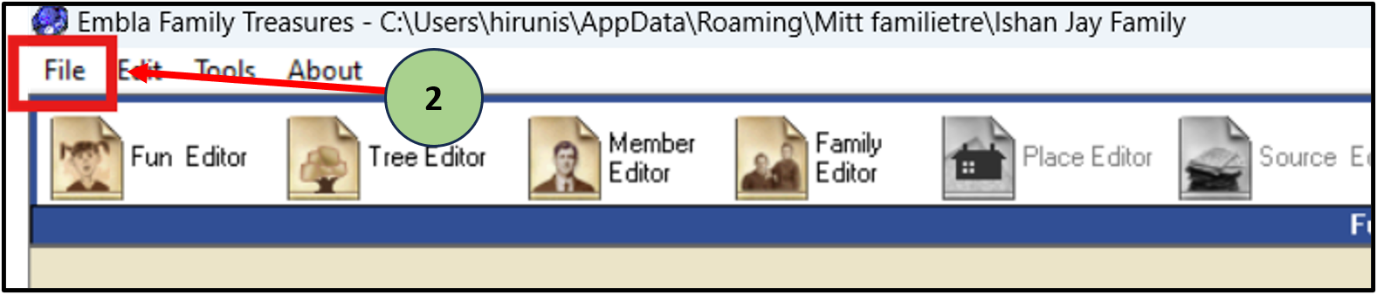
2. Click on the “File” tab
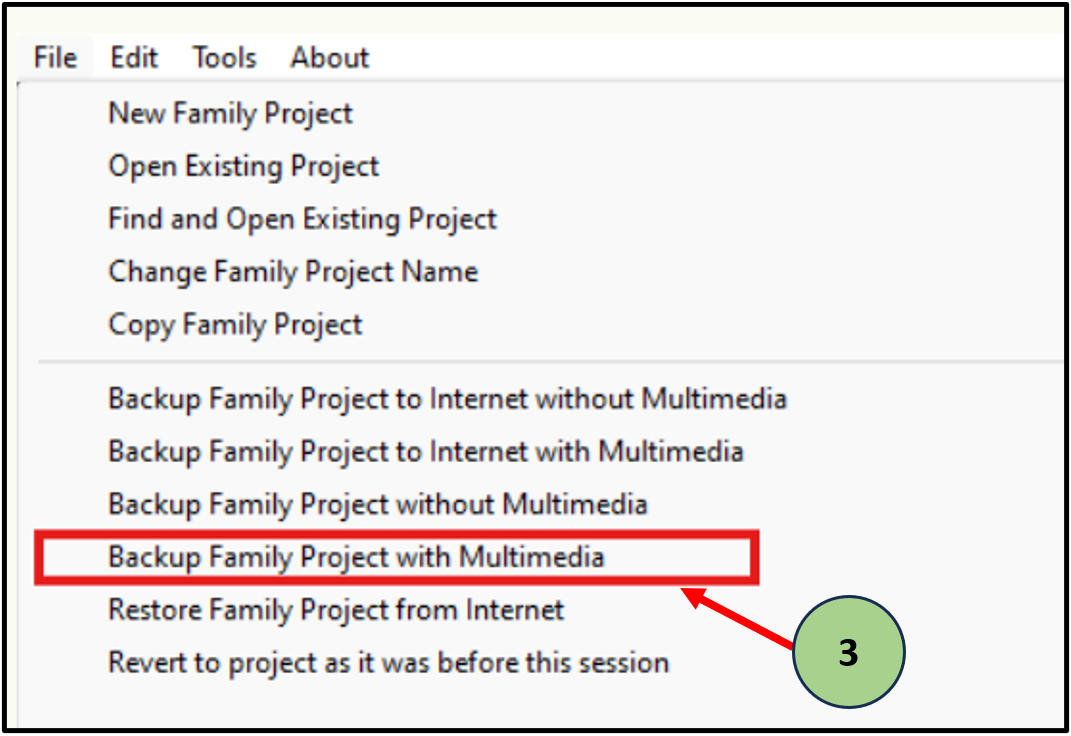
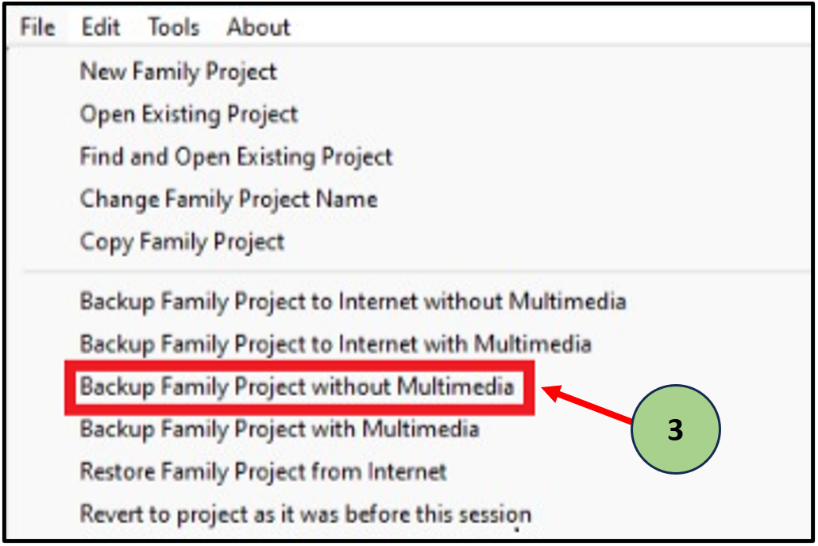
3. Then you have two local backup options.
- The first one is “Backup Family Project with Multimedia”. This will save both your family tree data and any associated multimedia files locally as a zip file.
- The other one is “Backup Family Project without Multimedia”. This will save your family tree data locally as a zip file.
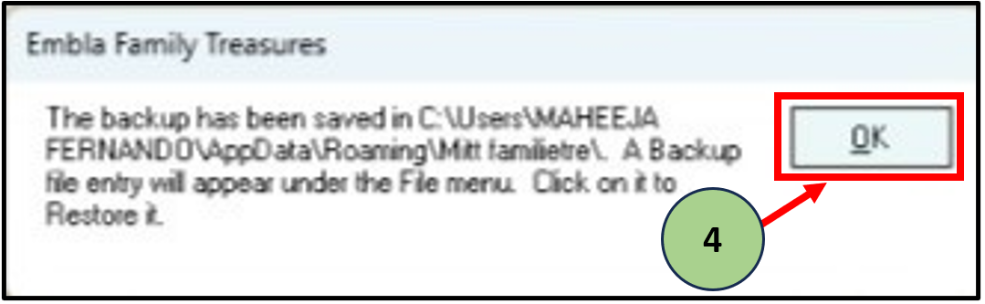
4. When you click one of these options, applications display a pop-up message and display the file location. Then Click “OK”
Ex-: “C:\Users\<Username>\AppData\Roaming\Mitt familietre\<backup file.”
5. Then you should find that zip file on your computer.
6. The file name starts with the “Restore” Keyword.
7. Then Copy (Ctrl+C) & Paste (Ctrl+V) that file to your desktop screen or any other location.
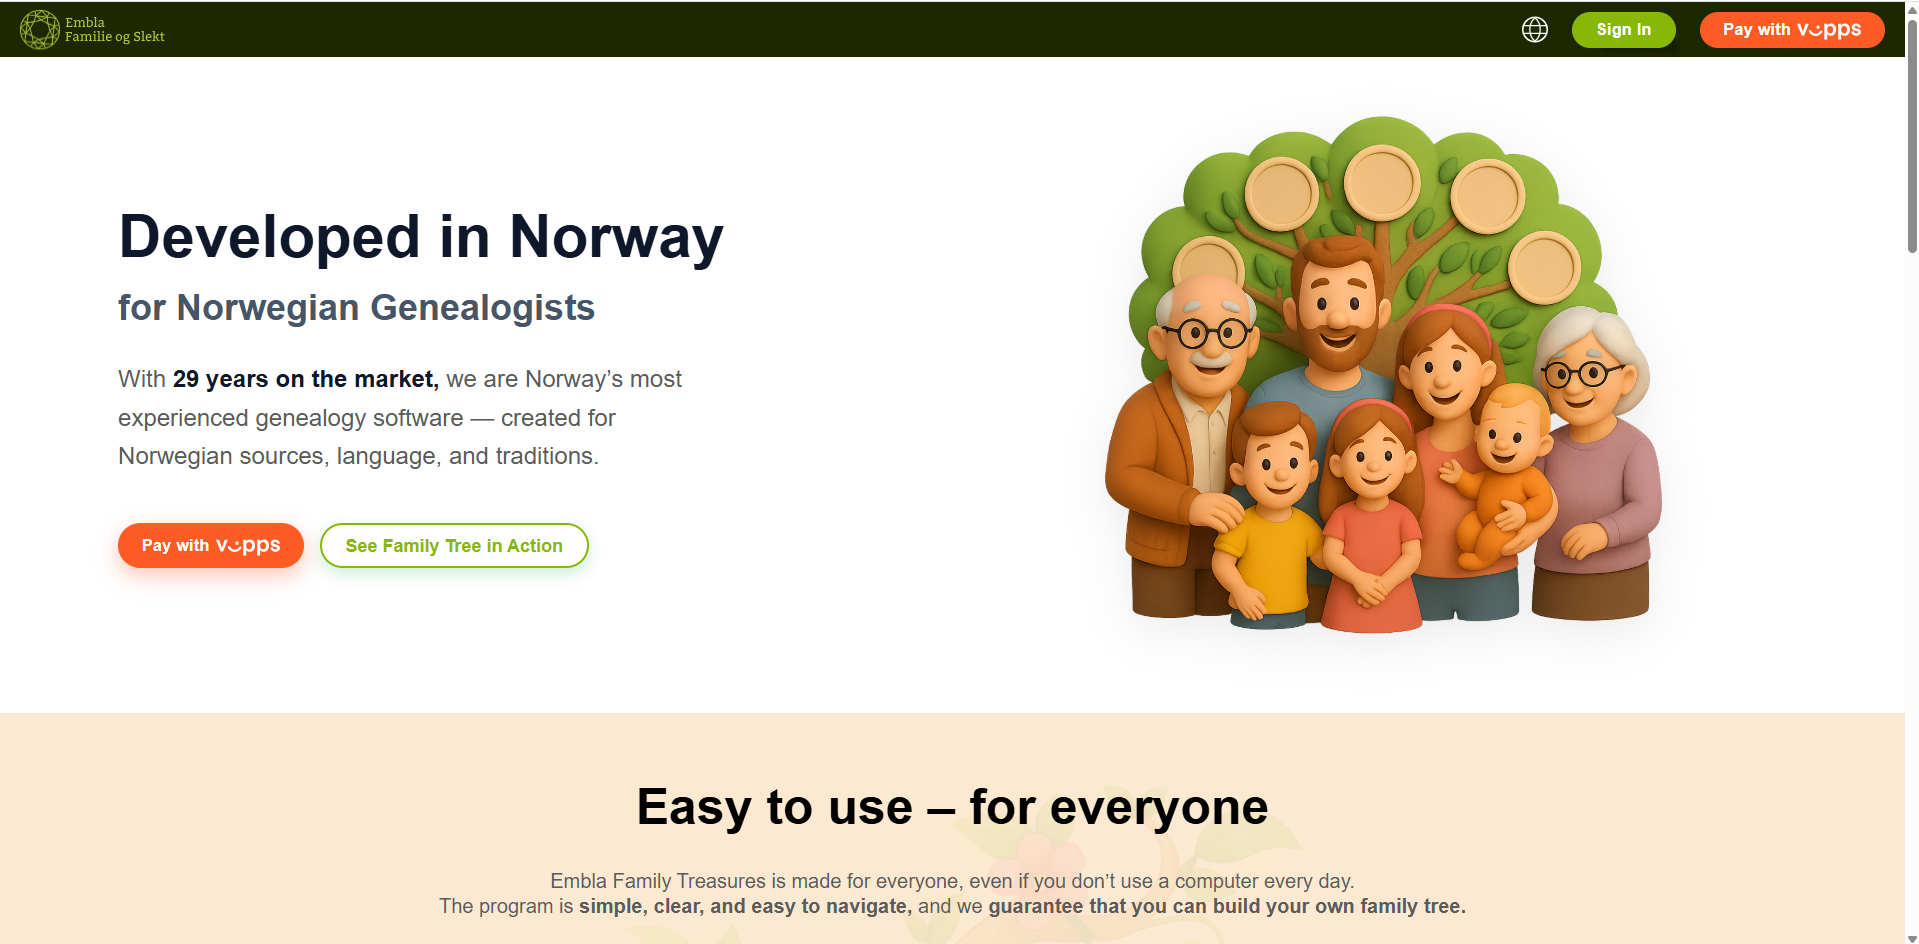
8. Go to the Embla website: www.embla.no.
9. You will be redirected to the landing page of the Embla Family Treasures program.
As part of ongoing improvements to our services, access to features related to older versions of Embla Family Treasures has been updated:
-
The separate Version 9 (V9) website is no longer in use.
-
All membership information, cloud backups, and legacy data related to Version 8 (V8) and Version 9 (V9) are now available through Version 10 (V10) after logging in.
-
This article is only relevant for users who are still using or need information from older versions (V8/V9).
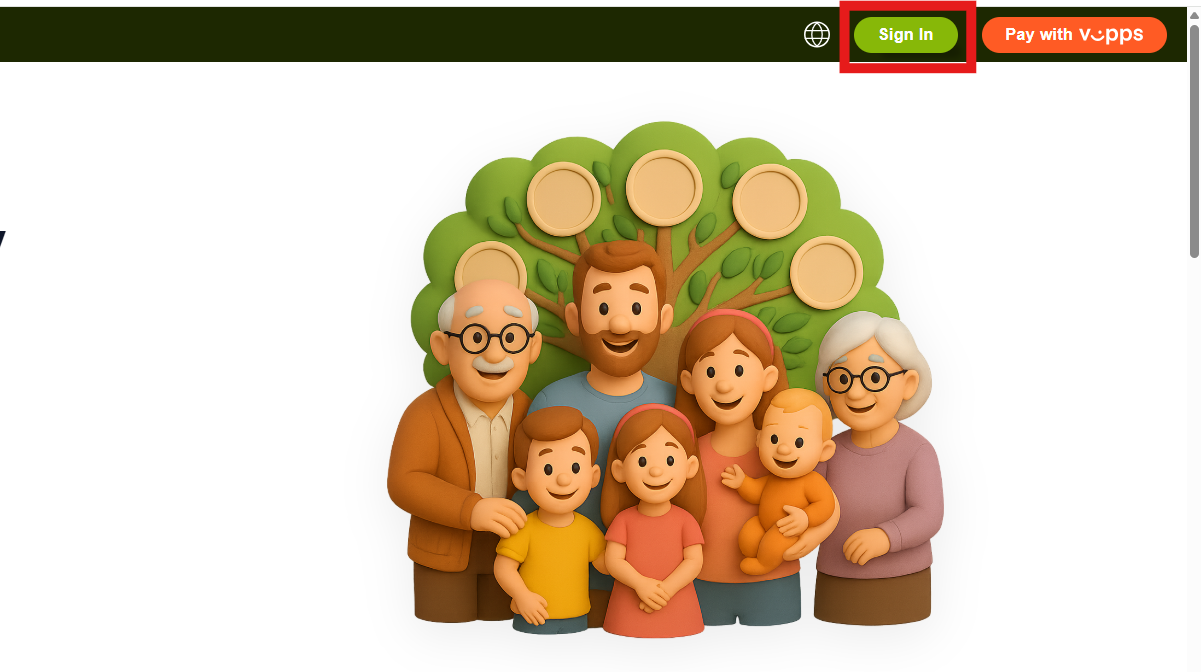
10. Click the “Sign in” button and log in to your Embla account.
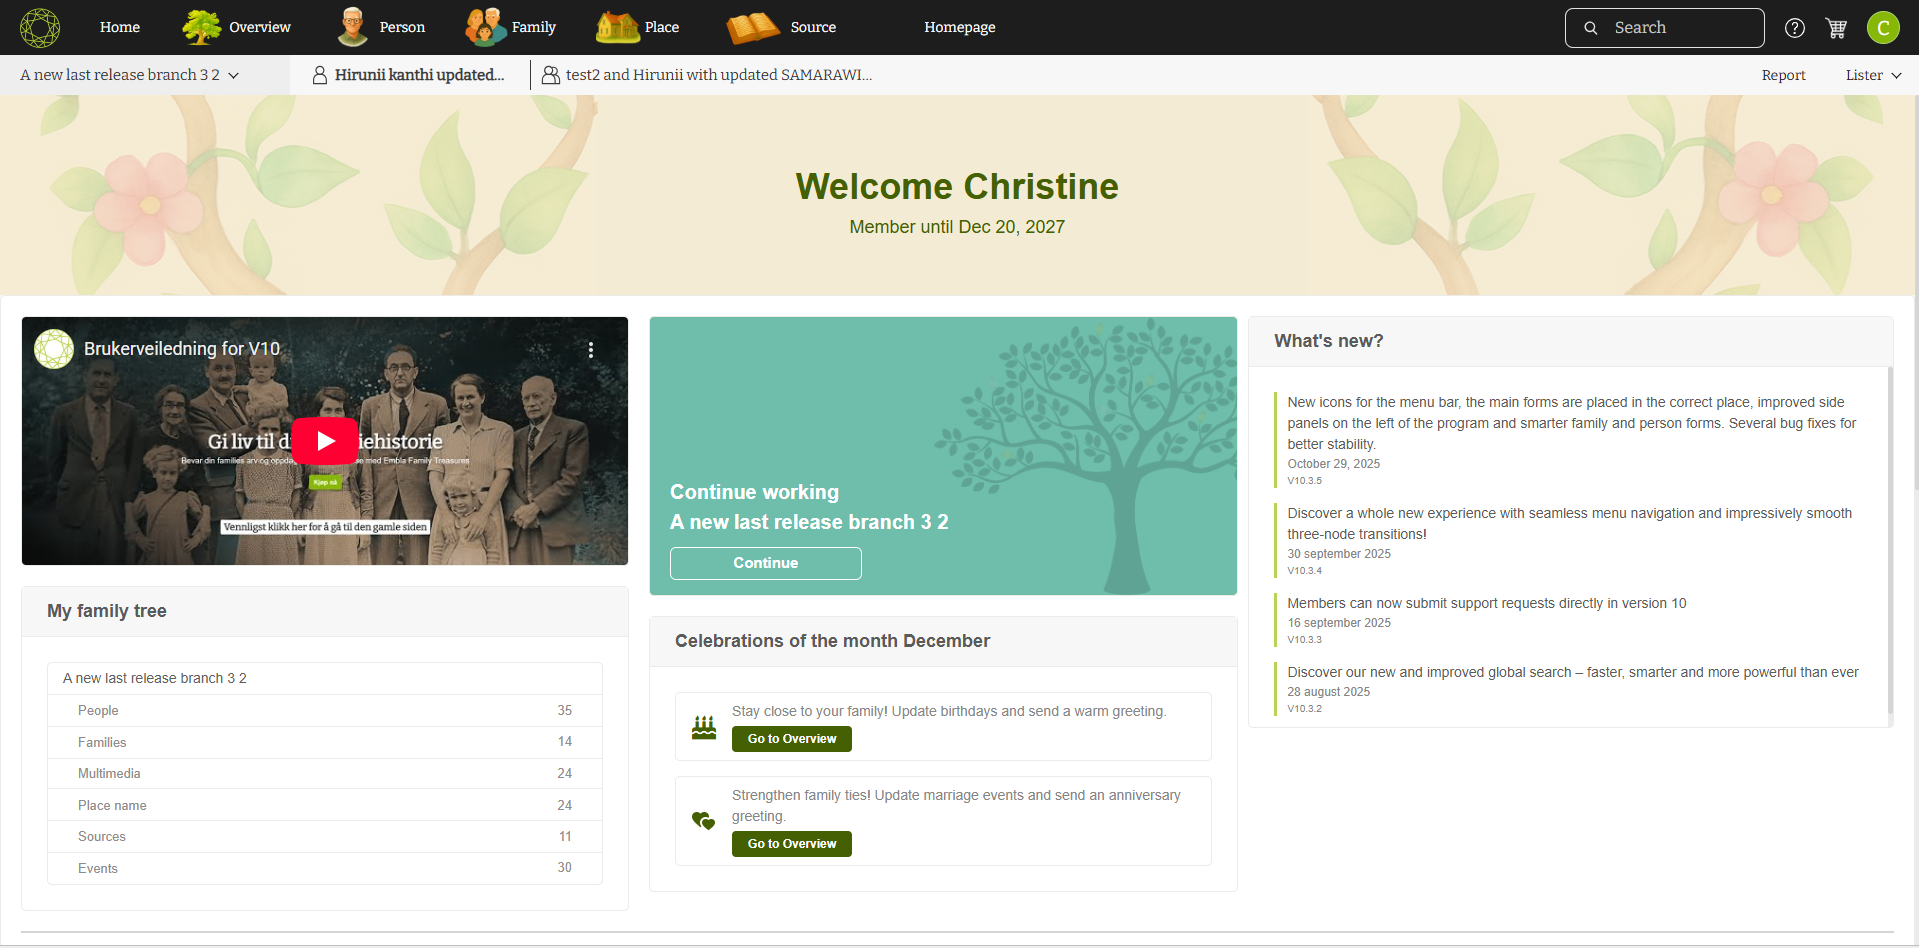
11. After logging in, you will be redirected to the Dashboard (Membership page).
All backup-related sections are available on this page.
12. Scroll down to find the “Backups” section.
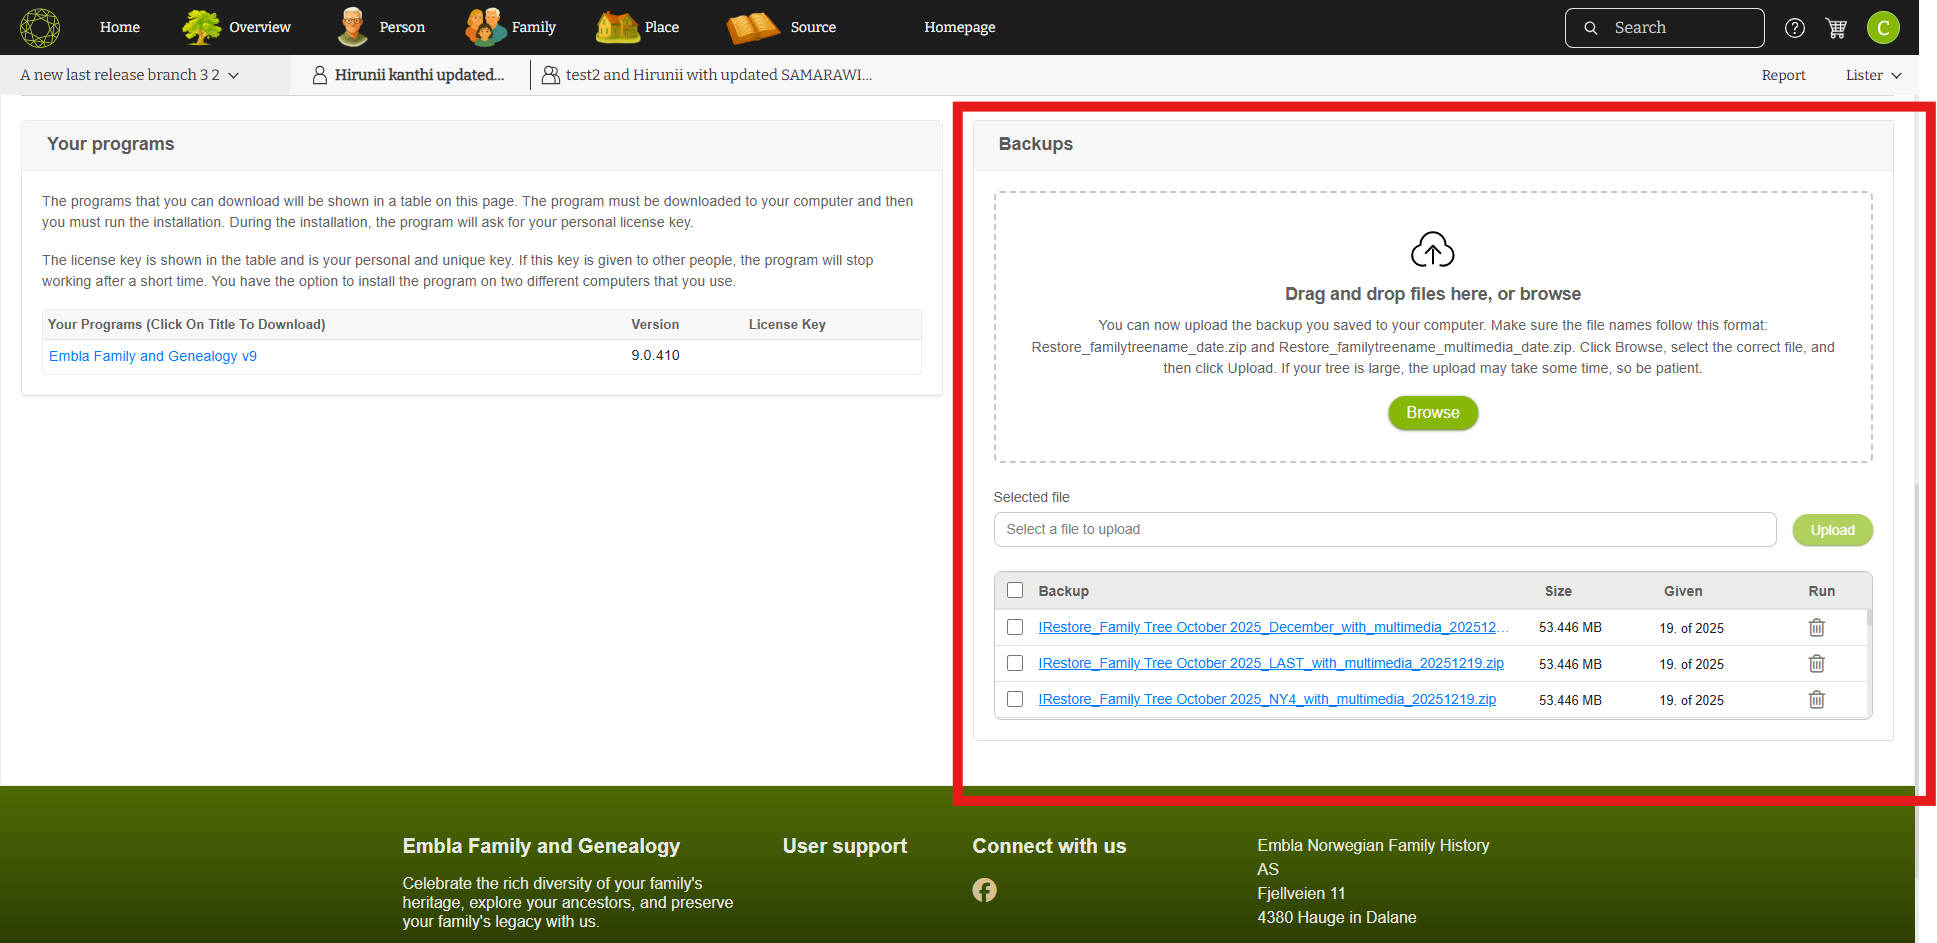
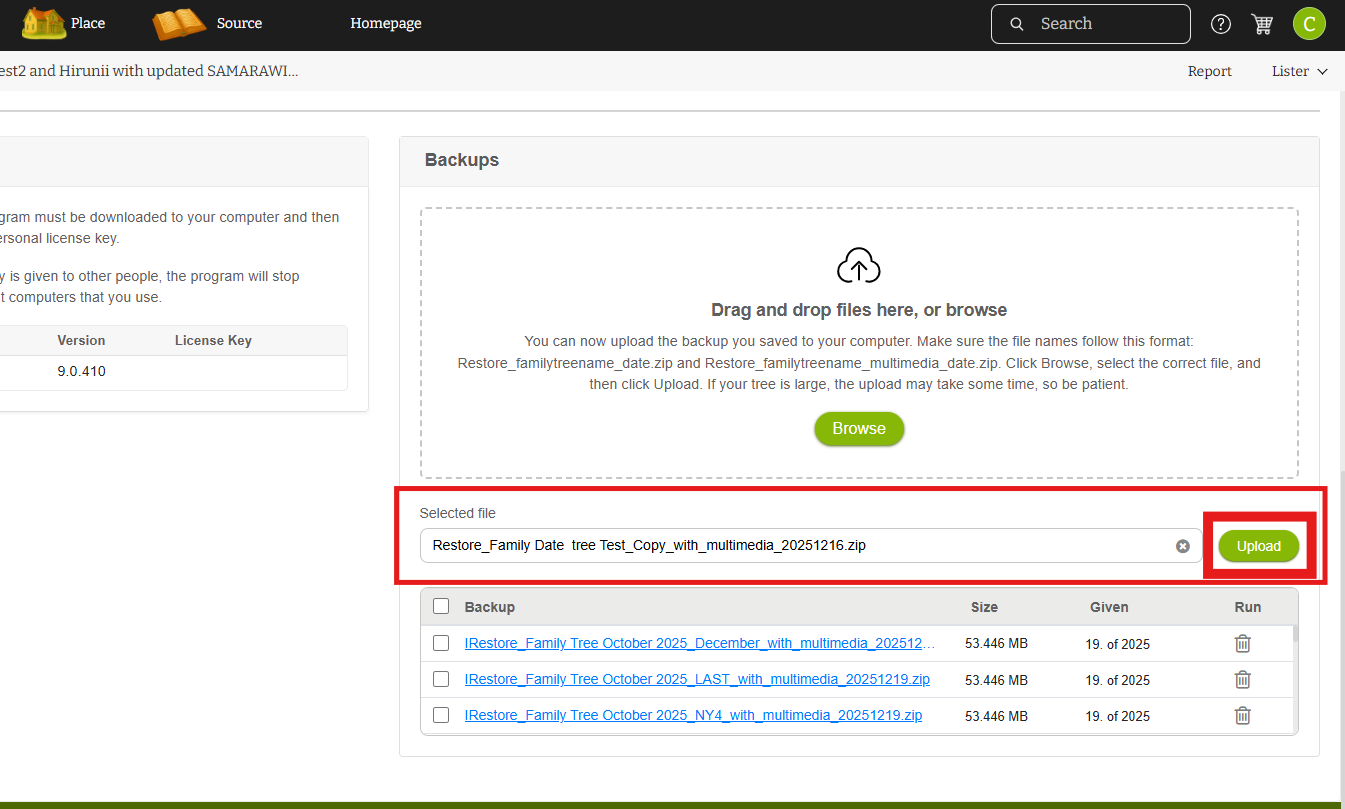
13. Click “Browse” to select the correct backup ZIP file from your computer.
You can also drag and drop the ZIP file directly into the Backups section.

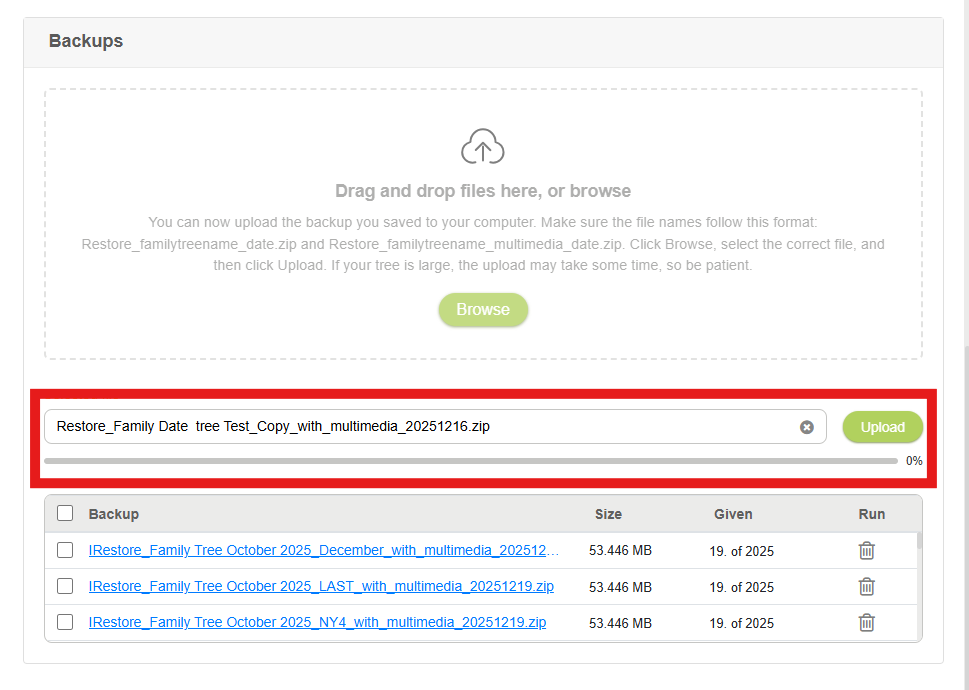
14. Once the file is selected, click the “Upload” button.
The upload process will start, and a progress bar will be displayed.
-
If the upload takes some time, you may continue working with other available family trees.
Note:While the backup is uploading, do not refresh the browser and do not click the Home button.The Home button is disabled during the upload process. If the page is refreshed while uploading, the backup upload process will be stopped, and you will need to start the upload again. -
If no other trees are available, please wait until the upload is complete.
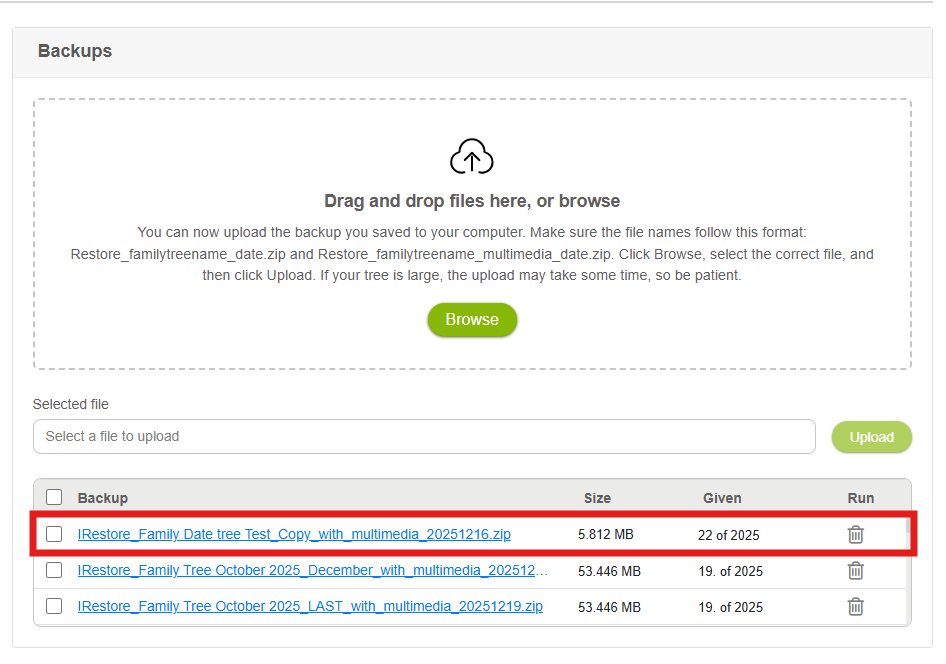
15. When the progress bar reaches 100%, the backup list will be updated with the newly uploaded backup.
16. The system will then start creating the family tree automatically.
You will receive an email notification once the family tree has been successfully created in Version 10.
17. Refresh the page.
You will now see the newly created family tree listed on the left-hand side under your family trees.
Leave a Reply