Discover the New and Improved Report Menu – V10
We are excited to introduce the newly enhanced Report Menu in our application! With a user-friendly design, generating reports is now easier than ever before. This guide will walk you through the steps of selecting and generating reports seamlessly. Let’s dive into the features and learn how to take full advantage of this improved reporting system.
What’s New?
- Simplified Navigation – You can now find the reports you need with just a few clicks.
- Enhanced Usability – The clean and intuitive layout provides a smooth experience, ensuring you can focus on what matters most: your data.
How to Generate Reports Effortlessly
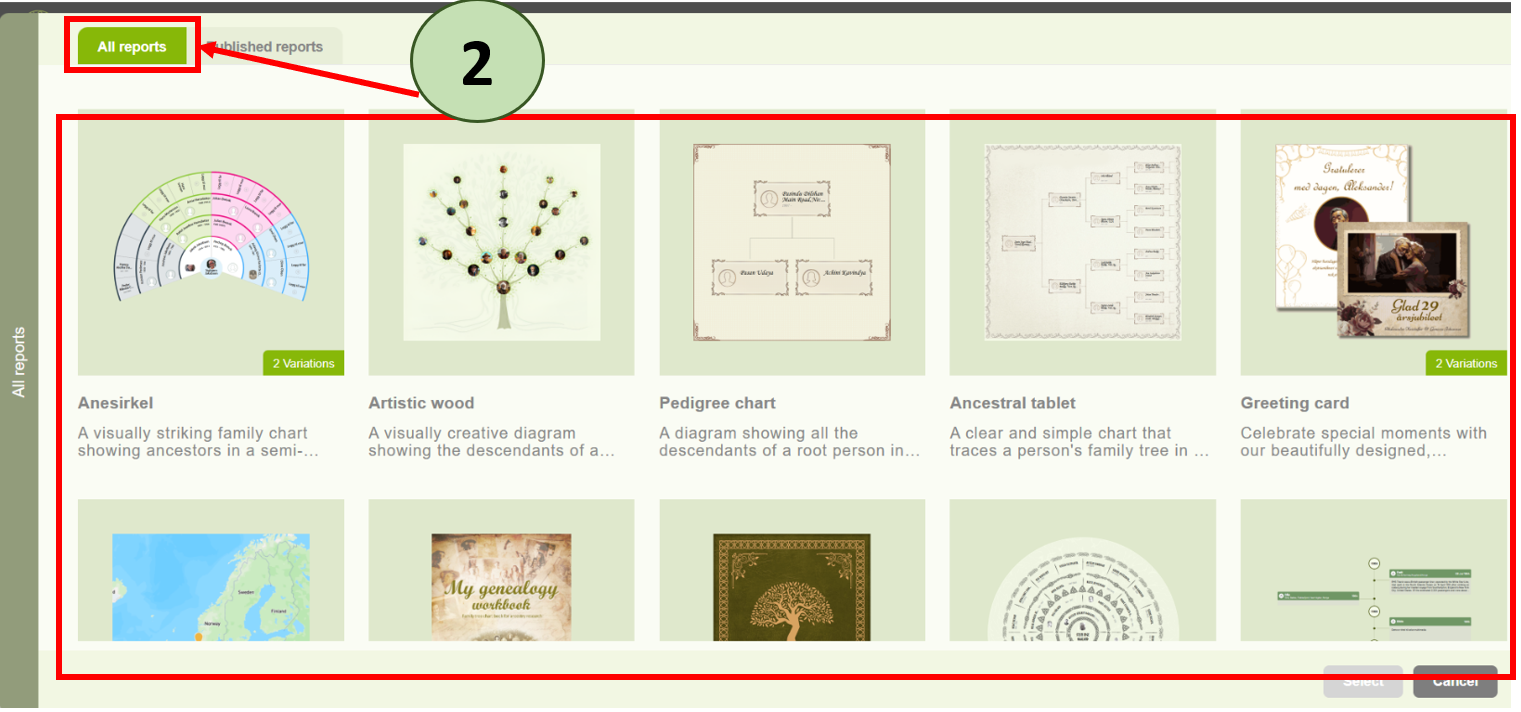
Step I: Access the Reports Menu
First, Log in to your account at www.embla.no .
1. From the main menu, navigate to the Reports section by clicking on the “Report” link.

2. You will be greeted by a categorized list of available reports, making it easy to choose what you need.
In here, you will see the newly designed Report Menu, which allows you to easily select the report you need. Each report is displayed with a clear image, helping you quickly identify and choose the right one.
Step II: Select Your Desired Report
3. Browse through the various report categories available.
If a report has multiple variations, you will see a banner indicating the number of variations.
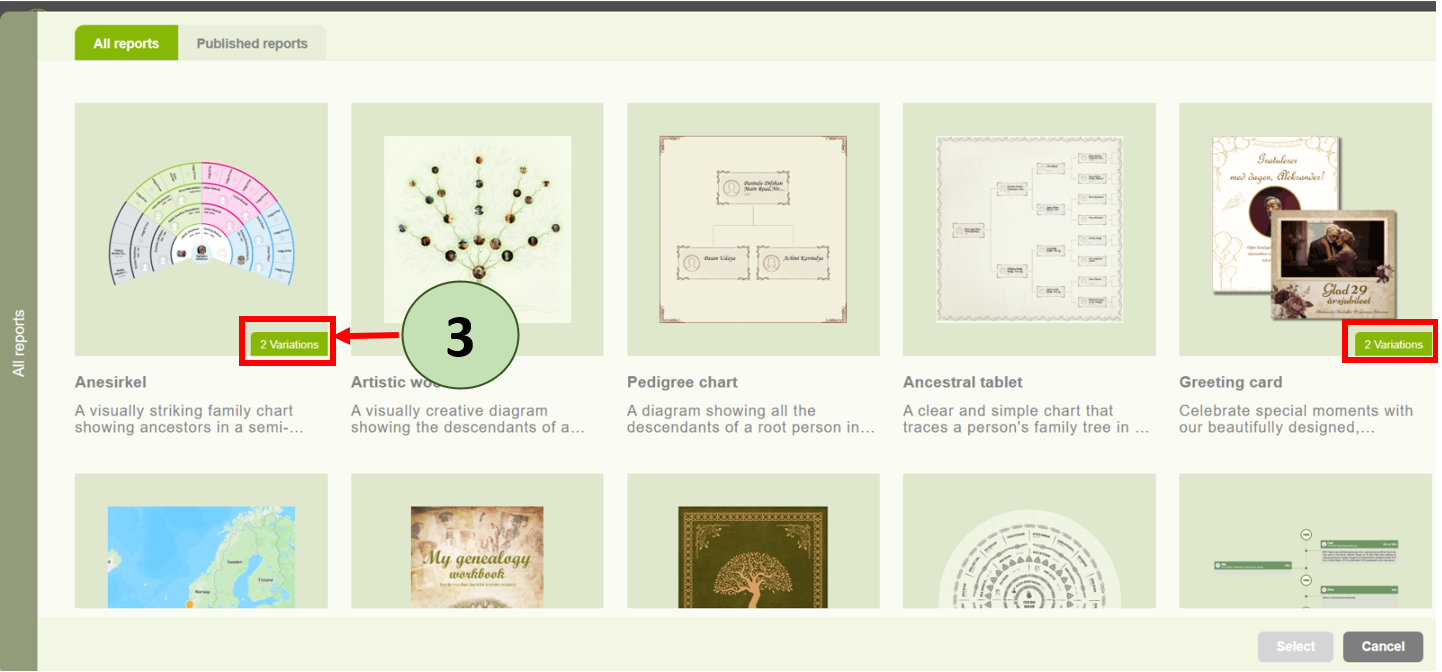 4. Click on the report category that suits your needs to select the specific report from the list.
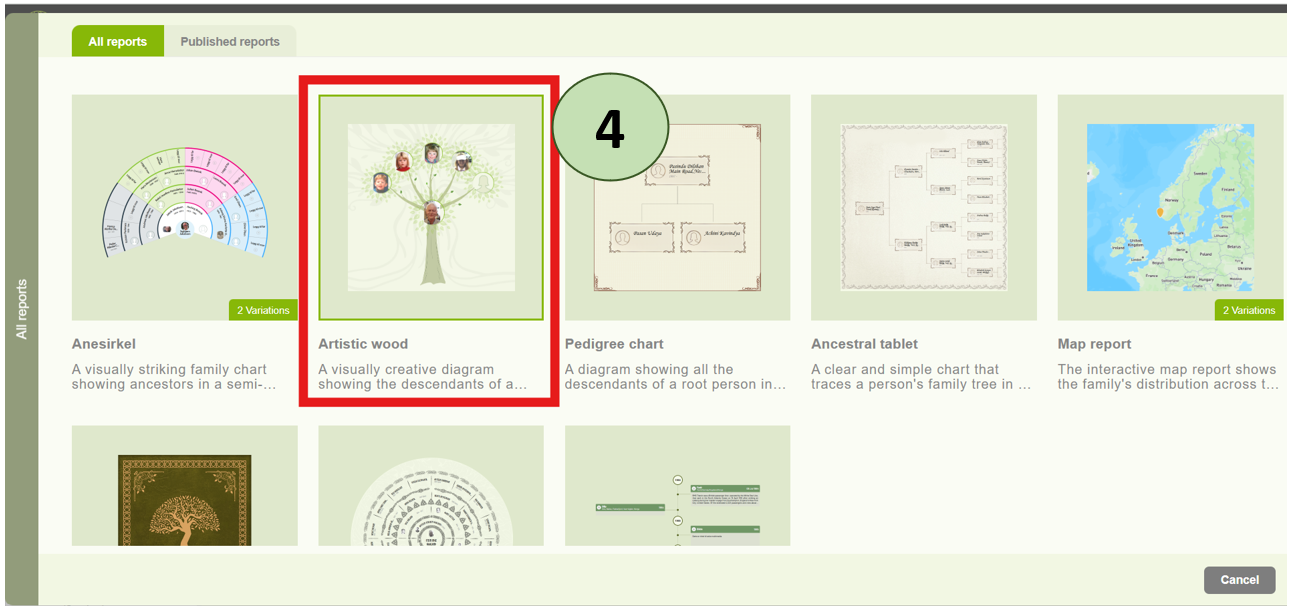
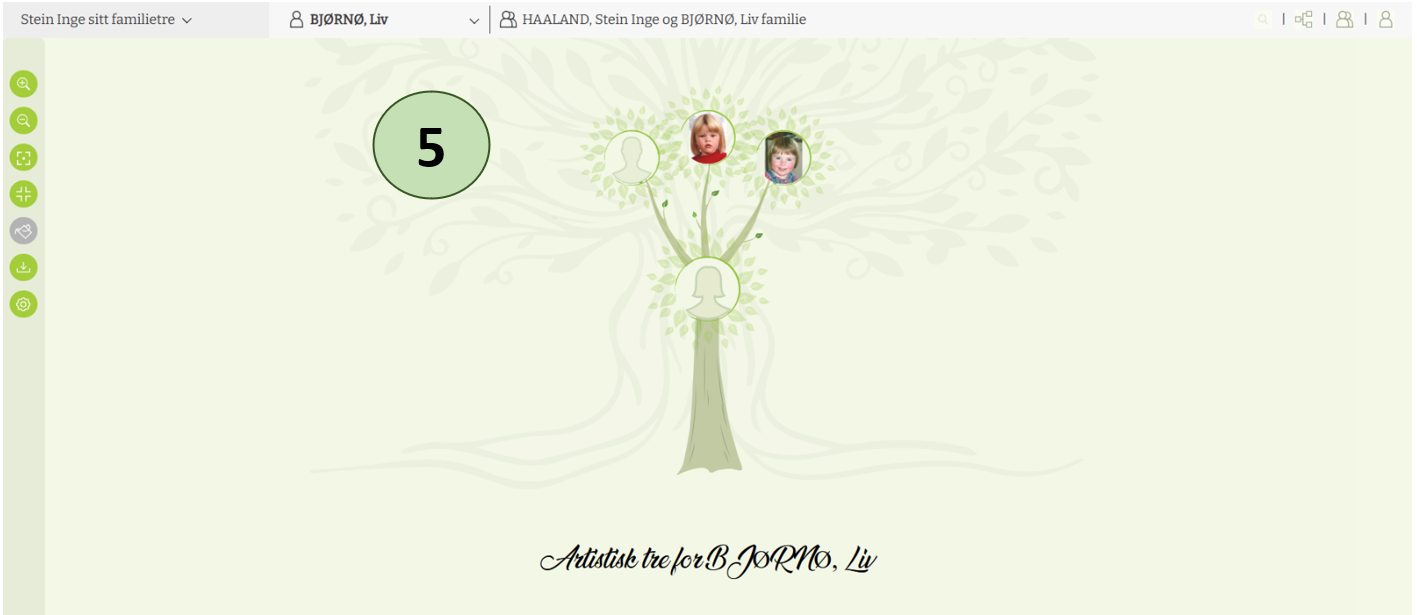
5. After selecting your report, the report will be loaded.
Step III: Generate the Report
6. You will see a “Publish” button next to the reports. If you want to publish a report, simply click the Publish button corresponding to your preferred report. This button is available for all reports and works in the same way across the all reports.
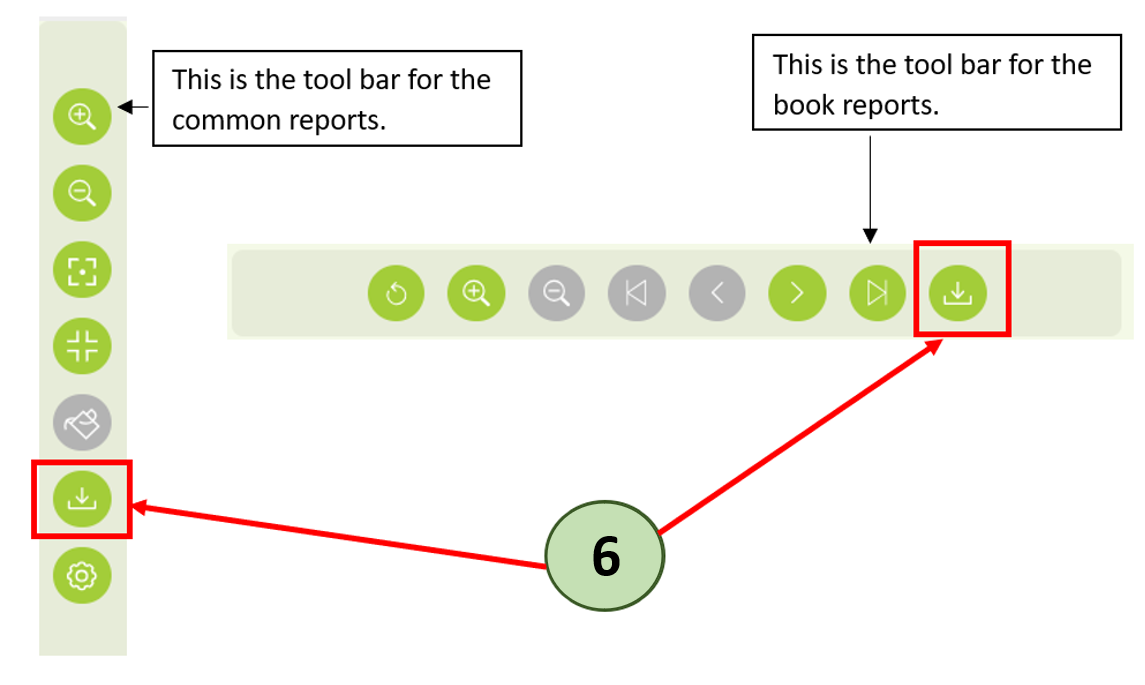
Wait a few moments as the system compiles your data, and your report will appear in the report panel.
Step IV: Find Your Reports in the Report Panel
7. The new report panel is easily accessible with the updated design. You will find it under a separate tab located next to the Reports tab. To access click on the “Published Reports” tab.
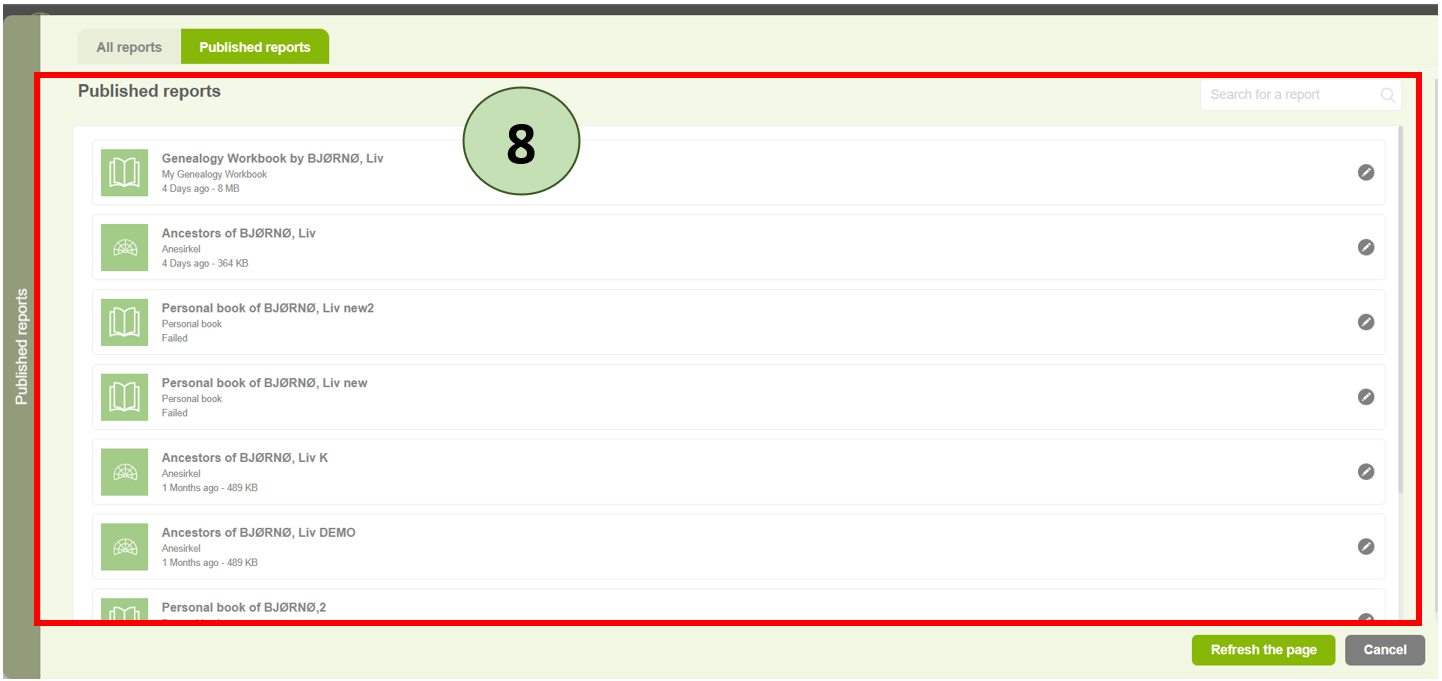
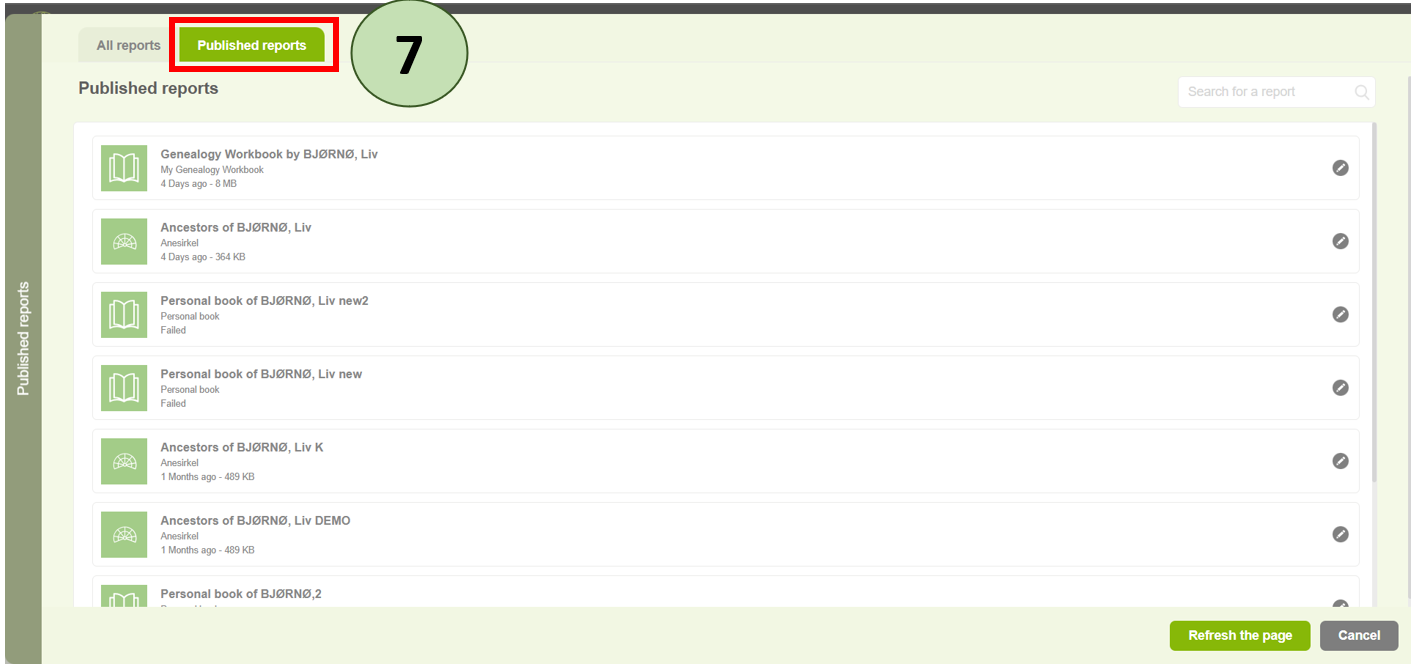 8. In this panel, you can view all your published reports.
Step V: Download or Delete Your Report
9. To download a report, simply click the Edit icon next to the report and select the “Download” link to save the copy to your device.
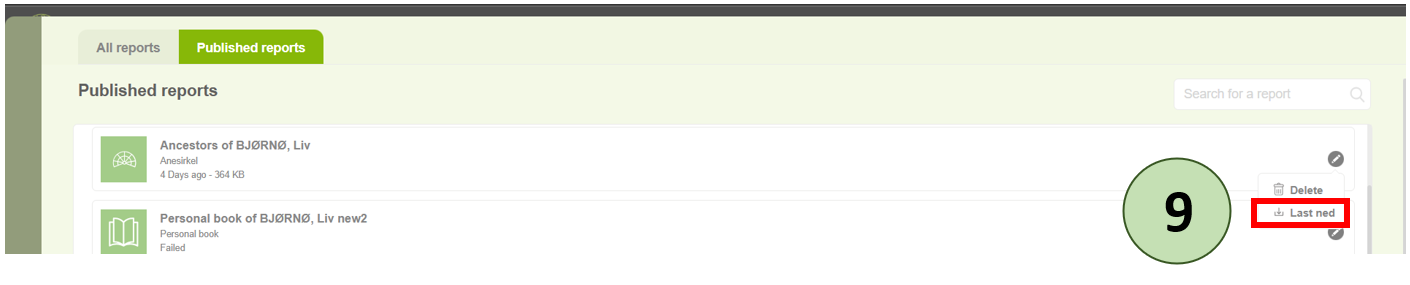 If you want to delete a generated report, click the Edit icon next to the report and select the “Delete” icon.

Why You will Love the New Report Menu
We hope that the new design will make reporting a breeze! Whether you are generating a quick report or managing multiple options, this intuitive layout will save you time and effort.
If you have any questions or need assistance with the new report menu, our support team is ready to help!
Happy Reporting!
Leave a Reply