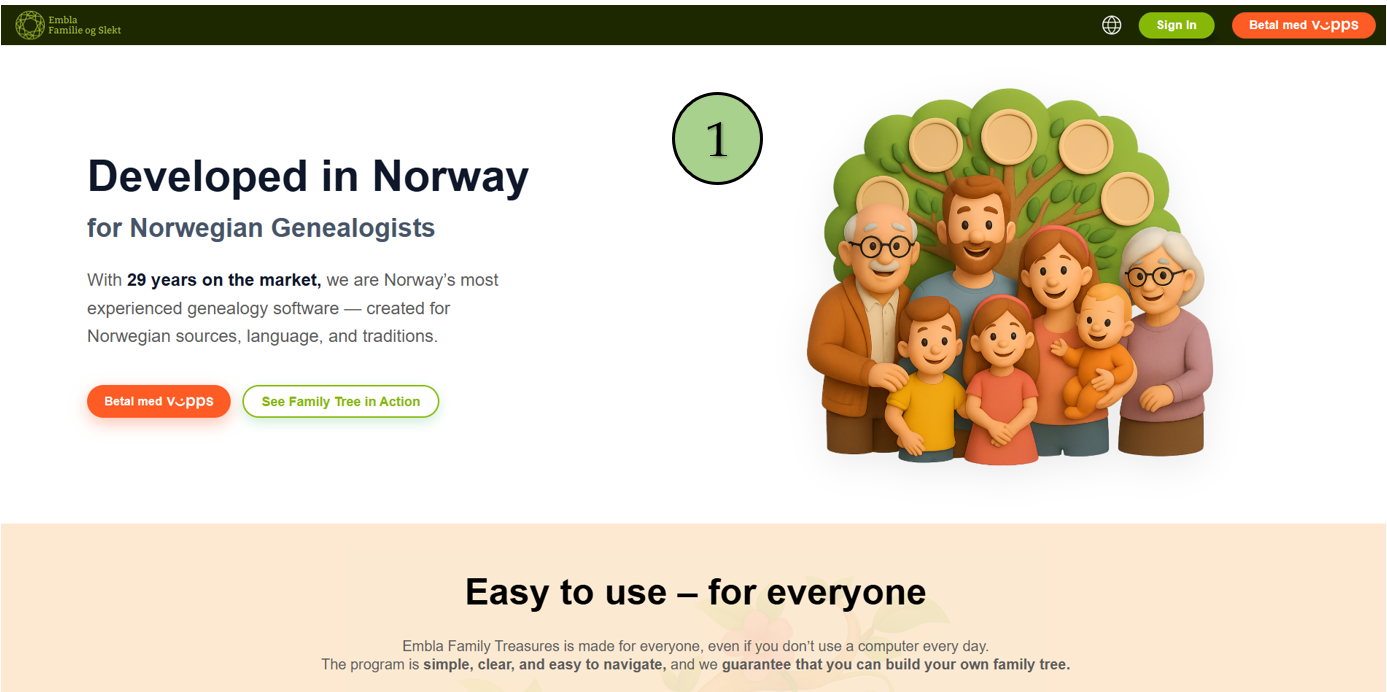
- New users browse www.embla.no from their browsers. Then, the user will be redirected to the latest version of the Embla Family Treasures application.
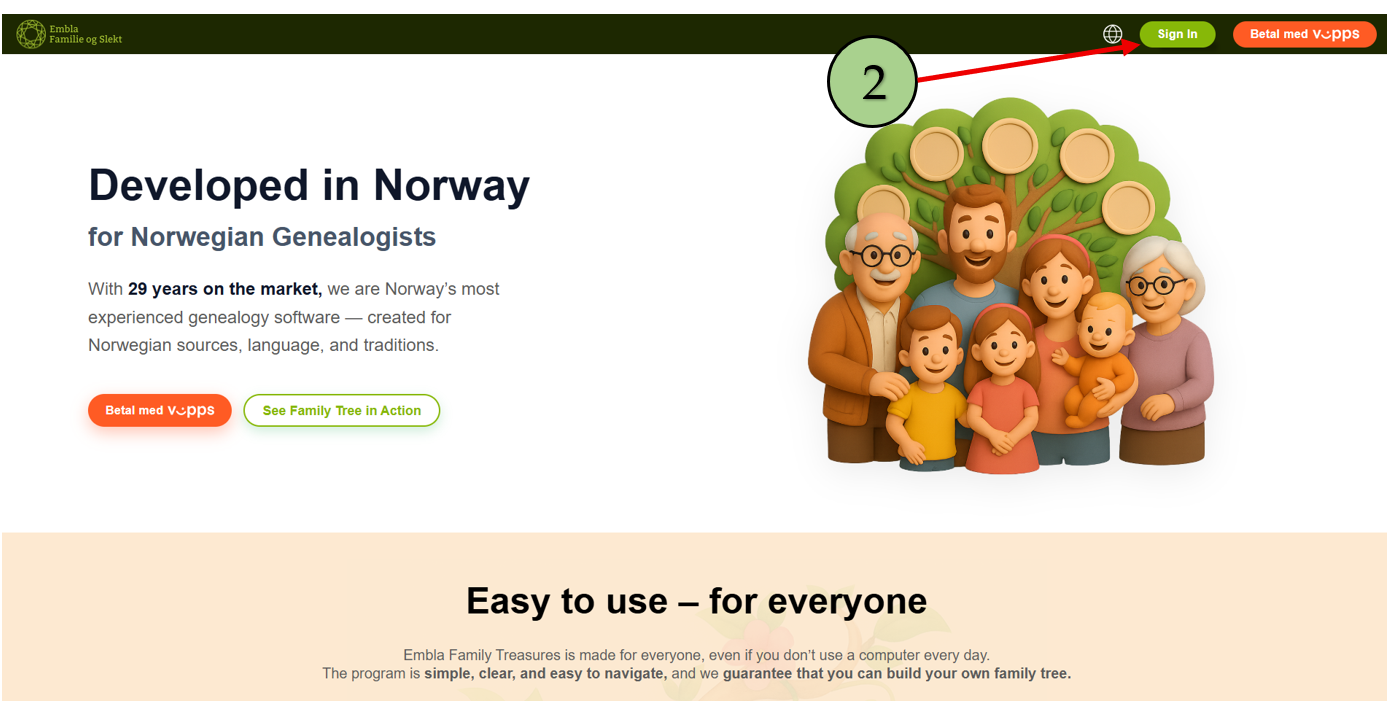
2. Click on the “Sign in” button to begin the login process.
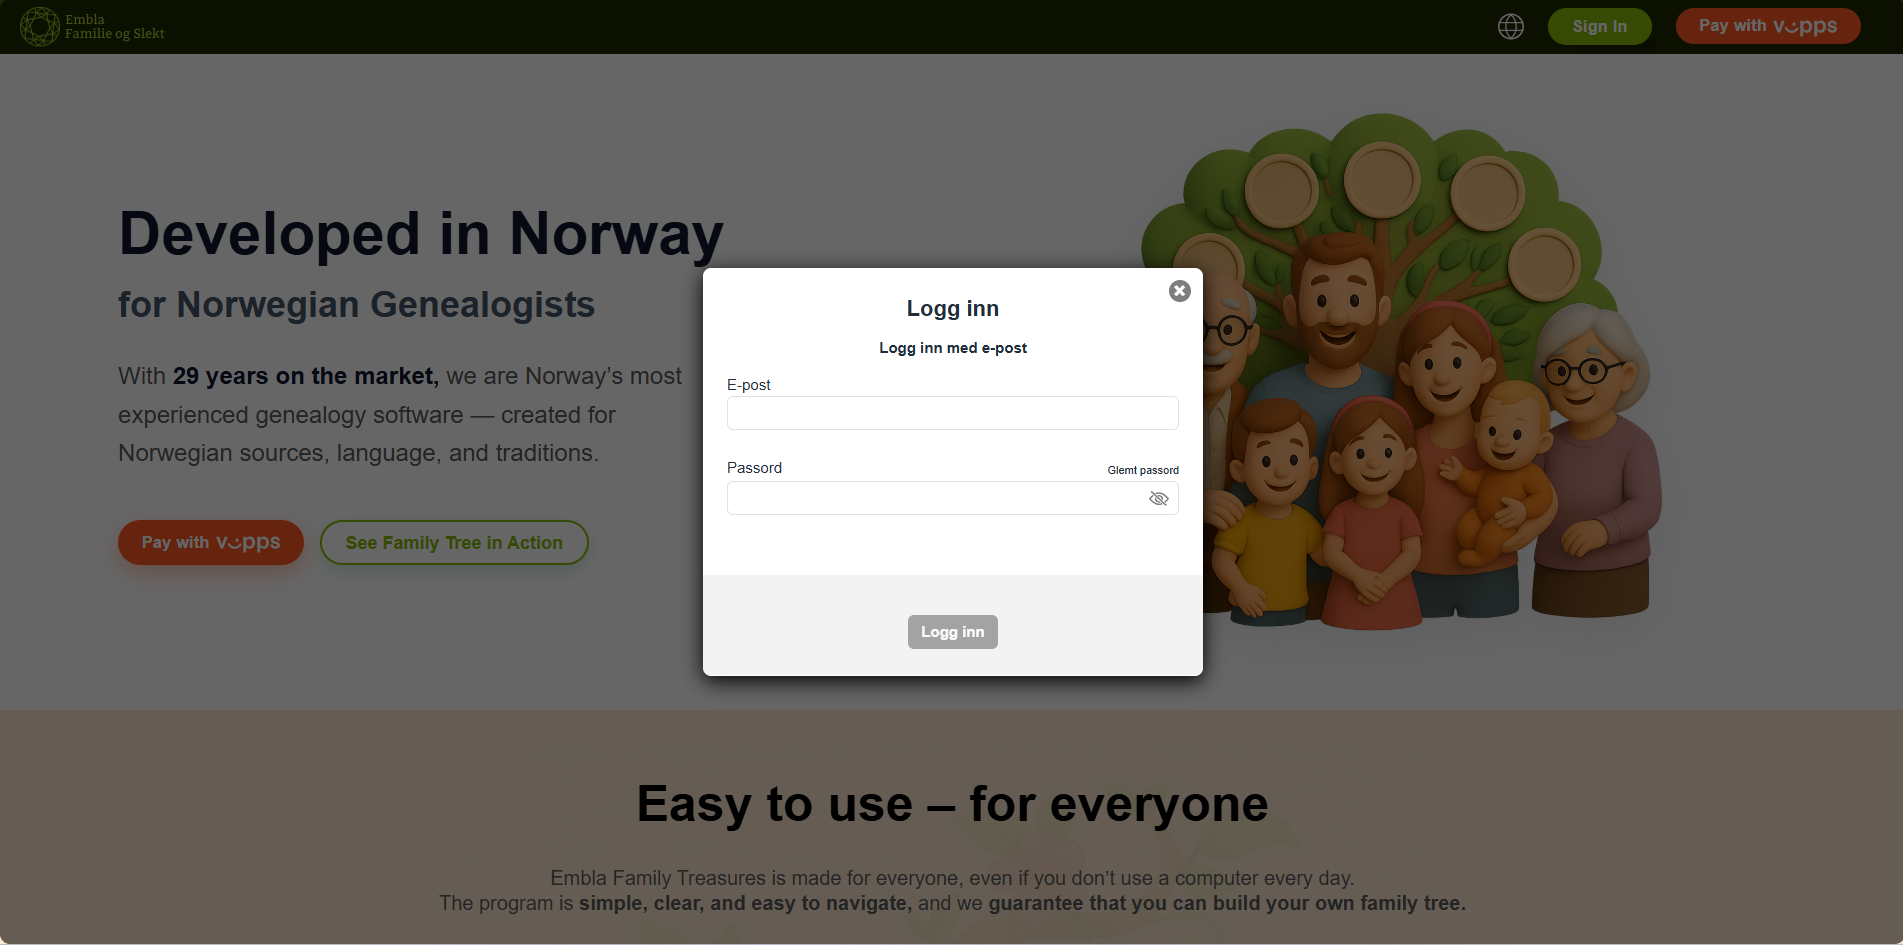
After that, the user will be redirected to the login form.Log in using your credentials. After entering the correct email and password ,“Sign in” button will be enabled.
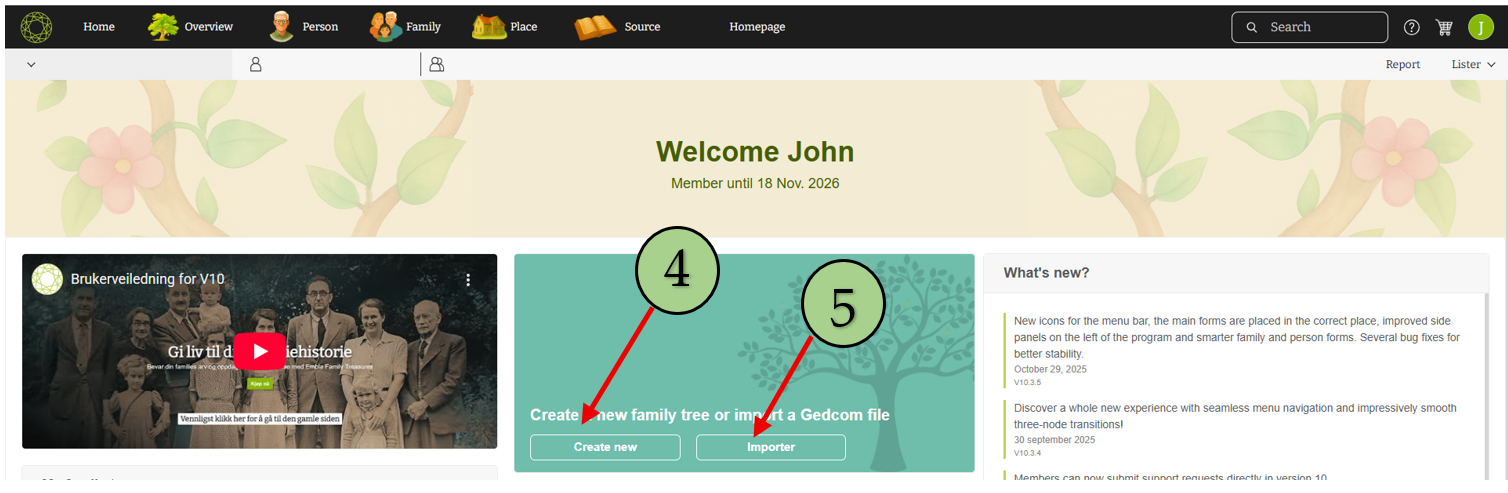
3. When the user enters the correct credentials, they will navigate to home page (Dashboard Page).
Note: Loading may take a few moments, and a loading indicator will appear while the application is preparing your home page.
4. After that, the interface shows two buttons for starting. The first one is the “Create” button.
5. The second one is the “Import” button.
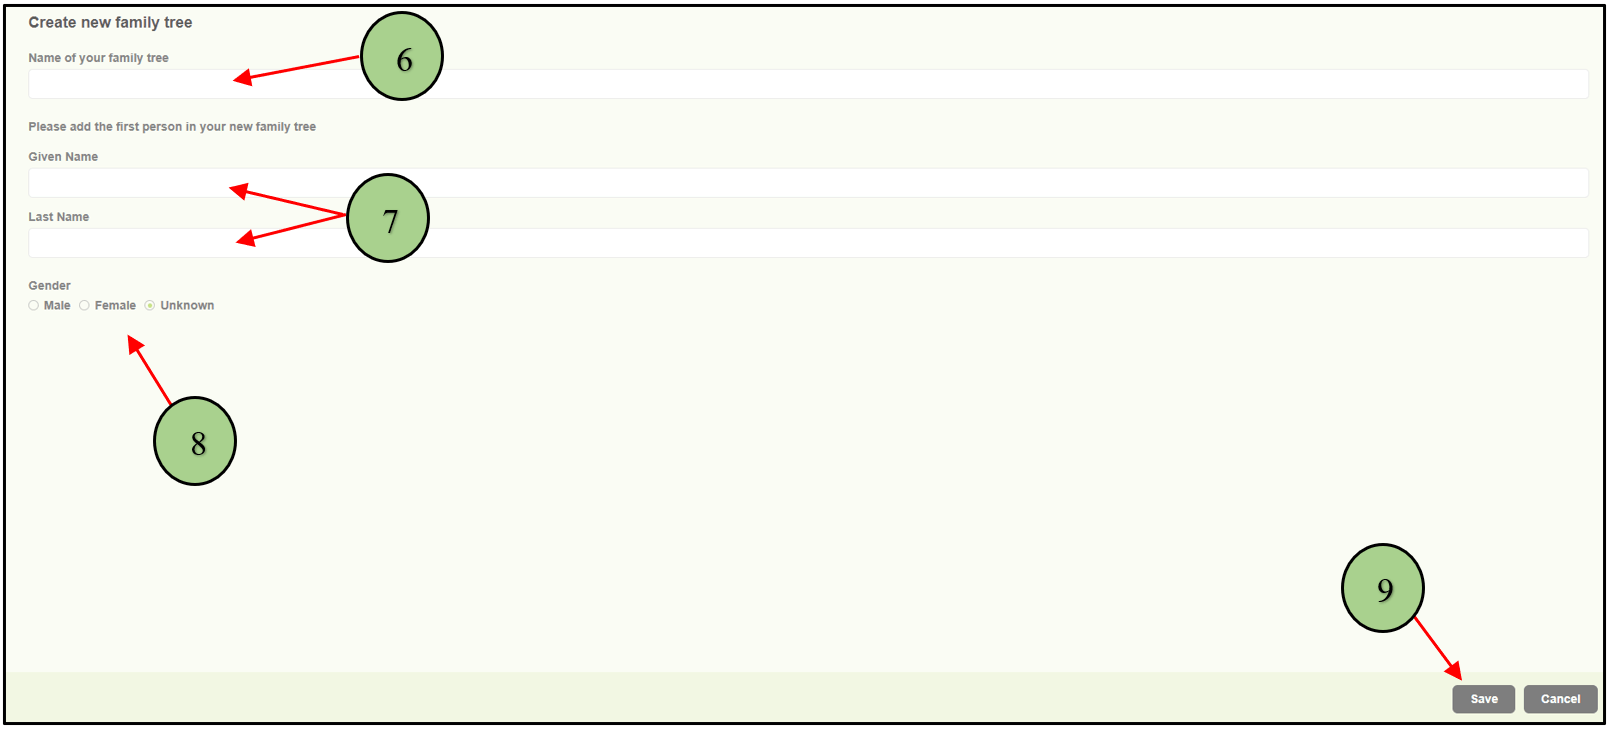
6. When clicking on the “Create” button, a popup will appear. Users can give a name for the family tree.
7. Then user can enter the first name and last name of the root person.
8. Then select the gender of the root person.
9. Finally, click on the Save Button.
10. If the user clicks on the “Import” button in the V10 application interface, a popup will appear. Users can give a name for the family tree.
11. Then the user should select the “GEDCOM” file type from the drop-down menu.
12. Browse the GEDCOM file
13. Click on the “Import file” button.

Leave a Reply